
Last updated October 30, 2026
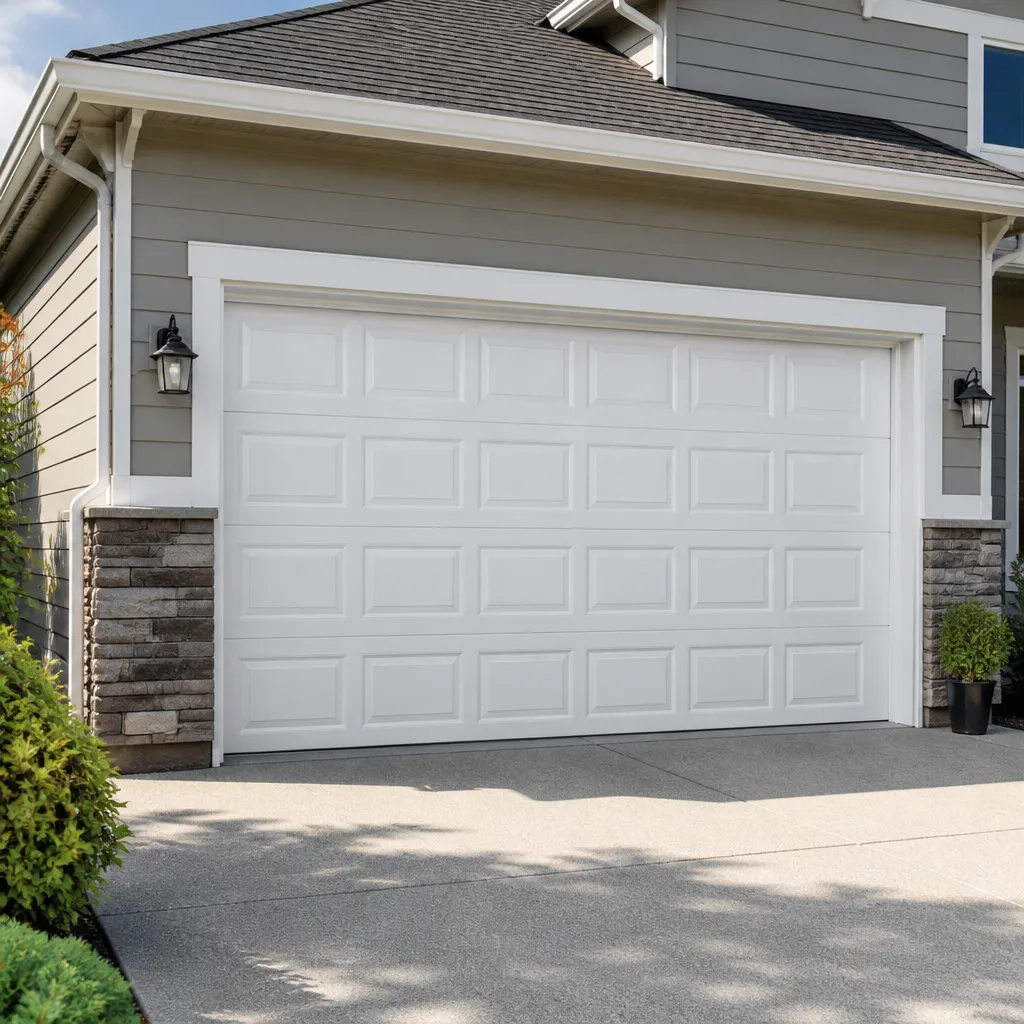 Raised-panel steel
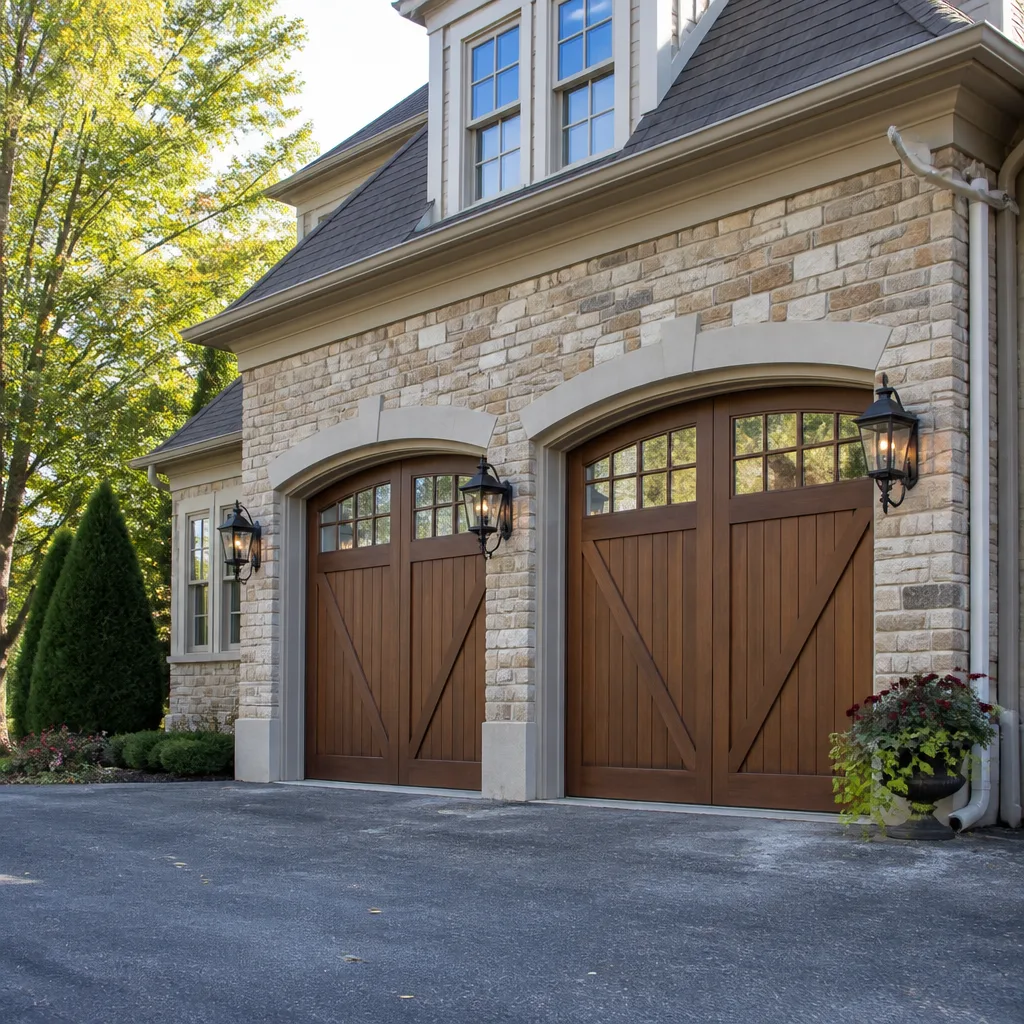 Carriage house
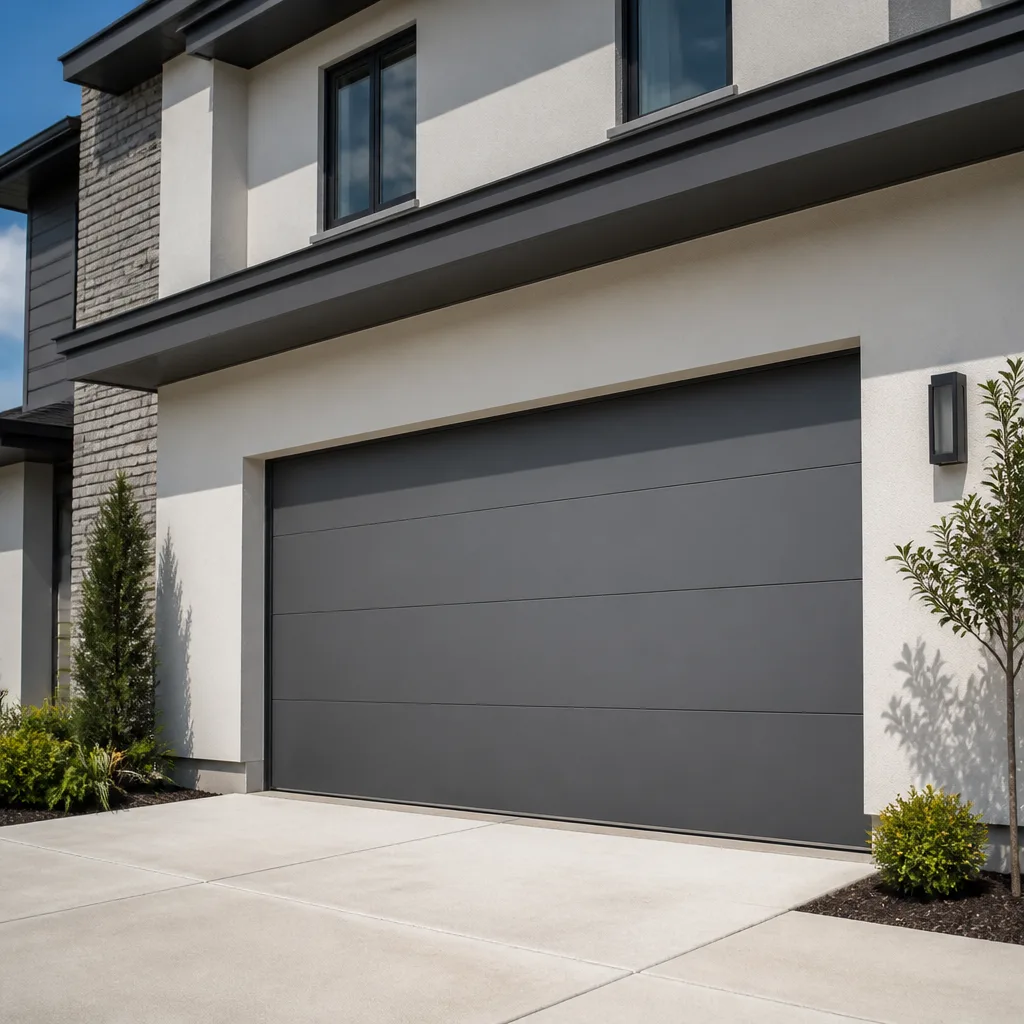 Modern flush
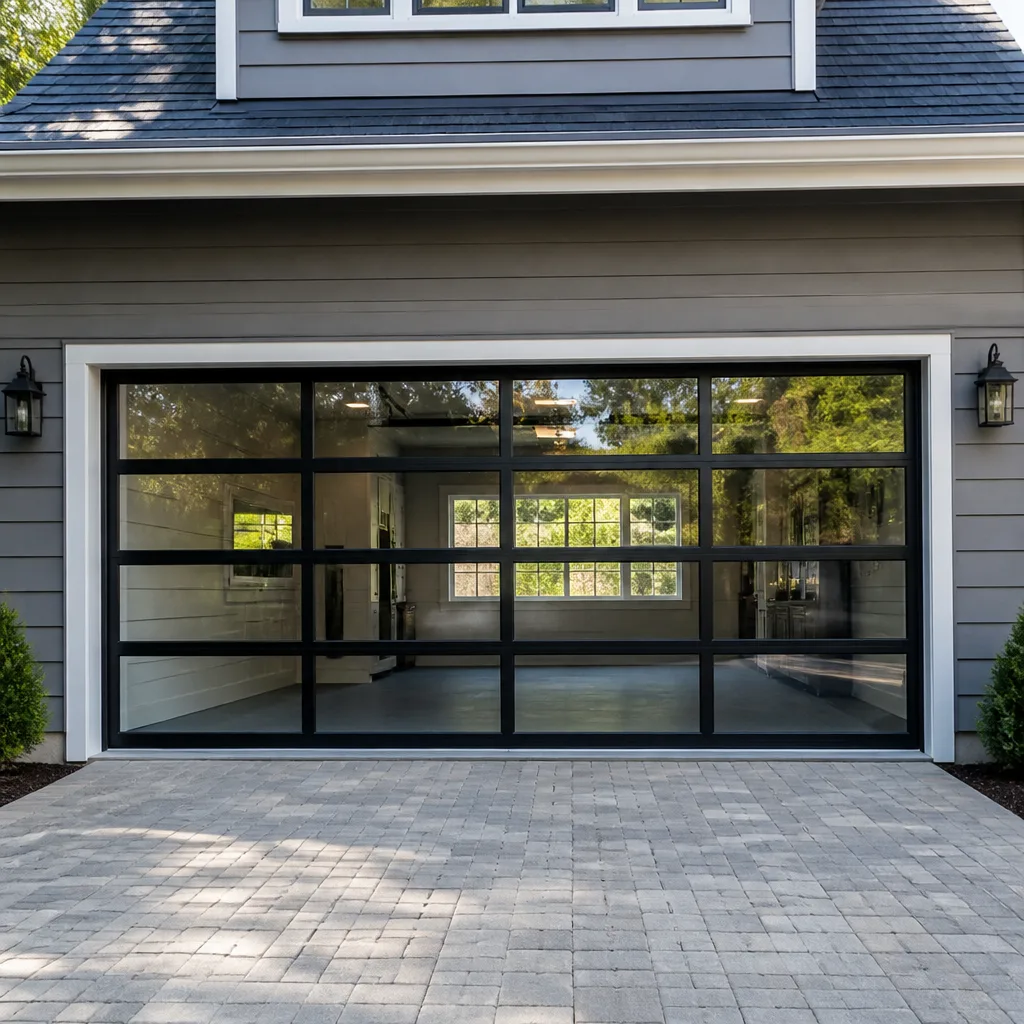 Full-view glass
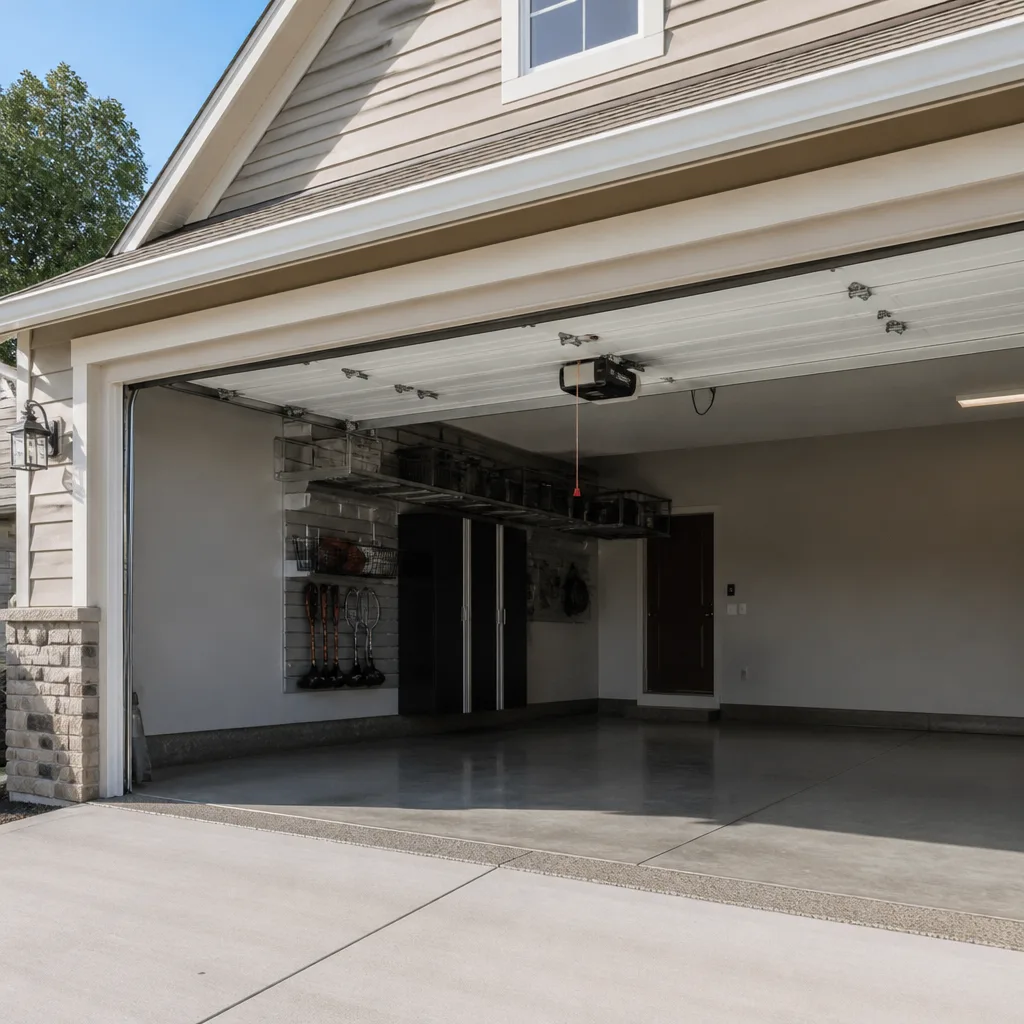 LiftMaster openers
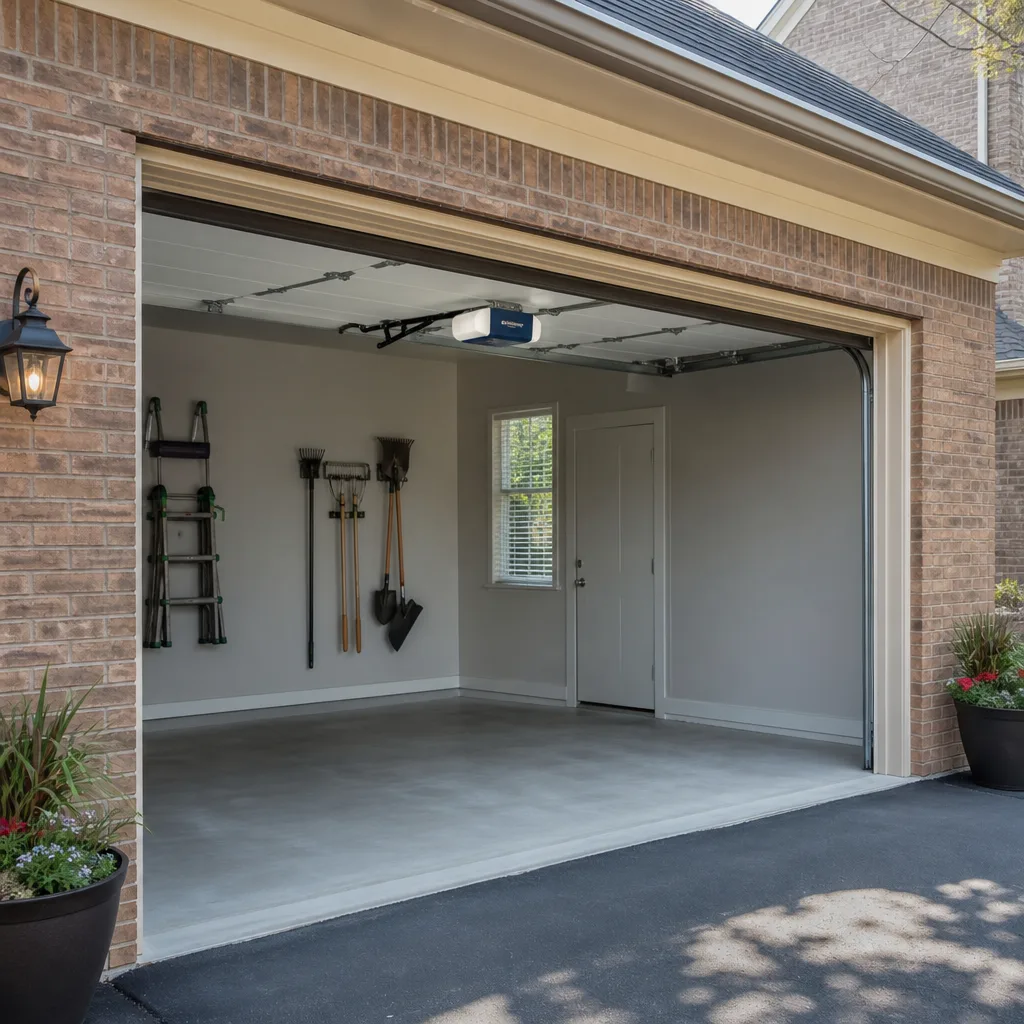 Chamberlain openers
Full 25-point door and opener safety check with every visit - springs, cables, rollers, tracks, and your LiftMaster or Chamberlain opener included
You get a price before we start. It does not change when the truck arrives.
Get your free estimateDIY vs Professional Garage Door: The San Bernardino Homeowner’s Decision Guide
Here’s a number that surprises most San Bernardino homeowners: a standard torsion spring on a double-car garage door holds between 150 and 250 pounds of loaded tension, and when it fails under load, the release is instantaneous. Your hand, your face, or your ladder is wherever it happens to be. That’s not a scare tactic. It’s how the physics works, and it’s the reason this guide exists. We’re going to walk you through exactly which garage door tasks make sense for a competent DIYer in San Bernardino, which ones absolutely require a trained technician, and the warranty and permit consequences you’re probably never told about. By the time you finish reading, you’ll know precisely where the line is, and why so many homeowners who start with YouTube and a socket set end up calling a pro anyway.
Quick Answer
For most San Bernardino homeowners, DIY is appropriate for low-risk maintenance tasks like weatherstripping replacement, sensor realignment, and opener programming, while professional service is the only sensible choice for torsion spring replacement, cable and drum work, and track realignment due to genuine injury risk and warranty-voiding potential. The dividing line is simple: anything under tension or load-bearing requires a trained hand with specialized tools. If the task involves a spring, cable, or the track geometry, call a professional.
Styles & brands we work with
Table of Contents
- What’s Actually Safe to DIY: A Task-by-Task Breakdown
- What Requires a Professional: The Danger Zone
- The Cost Math: When DIY Saves Money and When It Bleeds You Dry
- What Voided Warranties Actually Look Like
- San Bernardino Permits and Code Considerations
- Brand-Specific Considerations: Why Opener Platforms Matter
- Common Mistakes to Avoid
- When to Call a Professional
What’s Actually Safe to DIY: A Task-by-Task Breakdown
The DIY conversation too often gets reduced to “don’t touch anything” or “you can do it all.” Neither is true. There’s a legitimate middle zone of tasks a careful homeowner in San Bernardino can handle without specialized tools, licensing, or a trip to urgent care. Here’s the honest breakdown.
Weatherstripping and Sealing
Maybe the cleanest DIY task on the list. Bottom seals wear out in San Bernardino’s dry heat and sun exposure, cracking within three to five years. Replacement involves sliding the old T-shaped strip out of its channel and sliding a new one in. You’ll need a utility knife, maybe a flathead screwdriver, and about thirty minutes. Cost runs $15 to $40 for the seal itself. Our Tradesman Garage Door Repair home service area covers these requests regularly, and we’ll be the first to tell you: if it’s just the rubber strip, save your money and do it yourself.
Sensor Realignment
When your door refuses to close and blinks at you, the photo-eye sensors by the floor have usually drifted out of alignment or gathered a layer of San Bernardino dust. Loosen the wing nut holding the sensor bracket, nudge it until the indicator light turns steady, and retighten. It’s a ten-minute job with a screwdriver. The sensors themselves are wired into your opener’s logic board, which is where the DIY line gets firmer. Realignment? Fine. Replacement? That’s when we see homeowners struggle with wire routing and polarity issues.
Opener Programming and Battery Replacement
Programming a remote or keypad requires no mechanical knowledge. Chamberlain, LiftMaster, and Genie all publish step-by-step pairing instructions specific to their model numbers, and the process typically involves holding a button on the opener unit, pressing the remote, and testing. Battery replacement in wall consoles and remotes is similarly trivial. One San Bernardino-specific note: extreme heat shortens battery life in remotes left in cars, so if your remote dies every summer, it’s not the opener, it’s the battery cooking in your glovebox.
Lubrication and Basic Maintenance
A can of white lithium grease and a rag will keep your rollers, hinges, and springs quieter and extend their service life. This is a twice-a-year task that takes fifteen minutes. Spray the bearing points, wipe the excess, and cycle the door a few times. Avoid using WD-40. It’s a degreaser, not a lubricant, and it’ll strip the factory grease from your rollers and leave you with a louder door within a month. That’s the kind of detail that separates a trade specialist from a generalist handyman, and it’s why we train technicians on the full mechanism rather than a single brand’s quirks.
What Requires a Professional: The Danger Zone
Now we’re going to be direct, because this is where homeowners genuinely get hurt. The following tasks require a trained technician with the right tools and experience. Full stop. Not “be careful.” Not “watch a video first.” Call someone who does this every day.
Torsion Spring Replacement
This is the big one, and we’re not going to soften it. A torsion spring mounted above your door stores the mechanical energy required to counterbalance your door’s weight. When that spring snaps, it releases all of its stored torsion at once. The winding bars used to adjust these springs are half-inch steel rods inserted into the winding cone. If a bar slips under load, it becomes a projectile moving at speeds that will break bone or worse. Even experienced technicians approach torsion springs with deliberate, practiced technique, specific bar sizes, and an understanding of how many quarter-turns each spring requires for a given door height and weight. Guess wrong, and the door either crashes down or flies up. Both are dangerous. In our experience across the Inland Empire, spring work is the single most common task we get called to after a homeowner “almost got it.” You don’t want to be the almost.
Cable and Drum Replacement
The lift cables on a sectional garage door run through drums at the top corners and work in tandem with the springs. When a cable frays or jumps the drum, the door’s balance is compromised, and the remaining cable may be bearing the entire load. Cable replacement requires de-tensioning the springs, which loops you straight back to the danger above. This is a two-person job even for professionals on most door weights, and attempting it alone with improvised tools is how fingers get pinched, ladders get knocked out, and doors come down on cars, or worse, people.
Track Realignment and Panel Replacement
Track realignment looks simple: loosen bolts, tap the track, retighten. The problem is that track geometry directly affects how the door rides, how the rollers seat, and whether the door binds mid-travel. Misaligned tracks are the leading cause of off-track doors, and an off-track double-car door weighs 250 to 400 pounds. Panel replacement on a sectional door is also deceptively tricky, because each panel interacts with adjacent panels, the hinge stack, and the spring balance. Get the panel order or tension wrong, and you’ll create a binding point that wears rollers prematurely or bends a track section over time.
Opener Replacement on Spring-Balanced Doors
Here’s one nobody tells you: your opener is not lifting the full weight of the door. The springs are. The opener is moving a balanced door with modest force. If you install an opener on a door whose springs are incorrectly wound, worn, or broken, the opener’s motor and gear train absorb that imbalance and fail early. Professional opener replacement includes verifying door balance, travel limits, and force settings before the opener ever strains against a poorly tensioned door. For San Bernardino homeowners, this matters more than you’d think, because garage doors in our area cycle more often during hot months, when people keep the door closed to preserve cool air and cycle it constantly.
The Cost Math: When DIY Saves Money and When It Bleeds You Dry
The honest math on DIY garage door work looks different depending on the task. Here’s a realistic breakdown, because plenty of websites will tell you “you can do it yourself for $40!” without mentioning what a hospital copay costs or what a botched repair does to your resale inspection. Let’s use real San Bernardino market numbers.
- Weatherstripping: DIY runs $15 to $40. Professional supply and labor runs $65 to $110. Clear DIY win. No debate.
- Sensor realignment: DIY costs nothing but ten minutes. We don’t even charge for this when we’re already on site. DIY win.
- Remote programming: DIY is free if the remote is functioning. If you need a new remote, factor $30 to $60 for the part. A service call might add $40 to $70 for programming. DIY is usually fine, but note that some LiftMaster myQ and Chamberlain systems have a professional calibration step we’ll discuss below.
- Lubrication: DIY is $8 to $15 for a can of proper lithium grease. A professional tune-up runs $89 to $150 depending on scope. DIY is reasonable if you’re methodical, but this is a good add-on during a repair visit since the technician is already there.
- Torsion spring replacement: DIY parts run $60 to $120 for the spring itself, but you also need two winding bars, a proper ratchet set, and probably a repair manual you’ll study the night before. Professional replacement in San Bernardino typically runs $180 to $340 installed, including the spring, labor, and balance check. Factor in urgent care if the bar slips, and the math swings hard toward professional.
- Cable replacement: DIY parts run $25 to $50. Professional cost runs $150 to $250 including springs de-tensioning and door balance. A slipped cable drum on a 350-pound door is not a learning moment. Call this one in.
- Full opener replacement: DIY unit cost runs $200 to $450 for a mid-range Chamberlain or Genie, plus 3 to 5 hours of your Saturday, plus assumed door balance. Professional installation in San Bernardino generally runs $350 to $650 all-in for the same unit with proper adjustment, manual release testing, and safety reverse setup. The spread narrows quickly when you add your own time and the risk of a do-over.
- Track realignment: DIY is tempting at $0. The actual cost when the door comes off the track and you can’t get your car out is whatever you lose to a day of missed work plus the emergency service call. Professional realignment runs $125 to $225 in our area. Not a place to roll dice.
One thing worth stating plainly because it matters to homeowners with a budget: any price we quote is agreed in advance, before work begins, in writing. There’s no “well, it got more complicated once we opened it up and now you owe us double” scenario. The price you approve is the price you pay. If a shop can’t tell you that before picking up a wrench, that’s your red flag.
If you live in the Grand Terrace area or anywhere along the I-215 corridor, a Garage Door Repair in Grand Terrace professional handles the same spring and cable work you’d be attempting with borrowed tools from a neighbor, and the quote is free.
What Voided Warranties Actually Look Like
Most homeowners have never read the warranty language that came with their garage door or opener. That’s not a criticism. It’s dense legal text. But there’s a specific pattern in how these warranties are written, and once you see it, you’ll understand which DIY moves trigger the exclusion. This isn’t a hypothetical. Pull out the paperwork on your Clopay or Amarr door and look at the section titled “Exclusions” or “Conditions of Warranty.”
The language varies by brand, but the clause typically reads something close to: warranty coverage is void where the door or opener has been installed, modified, or repaired by anyone other than an authorized dealer or qualified service professional, or where damage results from improper installation or unauthorized component substitution. That’s the actual shape of these clauses. Here’s what it means in practice. If you replace a torsion spring yourself and that spring’s tension is wrong, causing the door to sag and the panels to crack at the hinge line six months later, the panel warranty doesn’t pay out. The burden is on you to prove your spring work wasn’t the cause. If you install a LiftMaster opener and fail to set the travel limits properly, then the door closes on your car bumper and the opener’s gear strips, LiftMaster’s warranty on that opener is void. Not because the opener failed, but because the installation didn’t meet the spec in the manual.
Raynor is specific in some lines about required professional inspection after certain DIY repairs. Genie’s newer integrated systems capture install events in the app, so a non-authorized installation is discoverable. The pattern across all brands is the same: the warranty covers manufacturing defects, not install errors. If a homeowner’s work creates the failure, the brand walks. This is precisely why a trained technician who works across multiple brands, rather than a handyman who “figures it out,” makes a meaningful difference. A Garage Door Opener Repair in Grand Terrace specialist who knows the calibration steps for your specific model is protecting a warranty you might not even know you’re still covered by.
San Bernardino Permits and Code Considerations
San Bernardino sits in San Bernardino County, and while many minor garage door repairs don’t require a permit, the line moves when you’re replacing structural components. Here’s the local reality you won’t find on a generic DIY blog.
For replacement of an existing garage door with one of the same dimensions and no structural modifications, most San Bernardino County residential work proceeds without a building permit. That’s the good news. The nuance arrives with Section R302 of the California Residential Code dealing with fire separation between garage and living space. Your garage door in an attached garage functions as part of the fire-resistance assembly. A door listed for fire separation carries a label indicating that rating. If you buy a door that isn’t properly rated for the application, or you modify the framing to fit a door that was never designed for that opening, you’ve altered the fire assembly without a permit, and that becomes a disclosure and inspection issue at resale. Buyers’ inspectors in San Bernardino flag unpermitted modifications routinely, especially on homes built after 2000 where the fire-rating requirement is well documented.
There’s also the mechanical side. Garage door openers fall under electrical provisions, and while a plug-in opener replacement rarely trips a permit requirement, a hardwired opener or a circuit addition does. Most homeowners never think about this until the inspector’s report comes back during escrow. A licensed professional will know which jobs need a permit in the city of San Bernardino and which don’t, and can pull one where required. That’s the invisible value of professional installation: the paper trail survives to your sale. Cash-only “handyman special” door installs have a way of surfacing at the worst possible moment.
Brand-Specific Considerations: Why Opener Platforms Matter
Most DIY guides treat all garage door openers as interchangeable. They’re not. The major platforms have diverged meaningfully, and your decision to DIY or call a professional changes depending on what’s mounted on your ceiling. This is one area where brand fluency actually matters, and it’s why we train across LiftMaster, Chamberlain, Genie, and the rest rather than just memorizing one manufacturer’s lineup.
LiftMaster and Chamberlain with myQ
LiftMaster and Chamberlain are parent and mainstream brand, respectively, and both lean heavily on the myQ connected garage platform. The app integration, the Amazon Key delivery feature, the camera pairing, and the sensor integration for auto-close all rely on the opener being registered to the account correctly. Here’s the DIY friction: modern LiftMaster openers ship with a professional installation requirement for full warranty activation on several residential models. The manual uses specific language about “qualified service technician” in the warranty section, and a homeowner-installed unit where the myQ bridge isn’t properly bound can lose remote access features later. If you’re deeply comfortable with networking and following a 40-page install manual, this is doable. If you’re the kind of person who has never logged into their router, the professional calibration step exists for a reason.
Genie’s Aladdin Connect
Genie positions the Aladdin Connect platform differently from myQ, with a heavier emphasis on voice assistant compatibility and local control. The install sequence is more forgiving for DIY, and many Genie openers historically included homeowner-friendly install kits with cable tension monitors and pre-set travel limit guides. That said, the safety reverse function on Genie units, like every brand, must be tested with a physical obstruction, not just trusted to the electric eye. Skipping that test is the most common homeowner install error we see, across all brands, without exception.
Raynor on the Door Side
Raynor matters here because their door lines, especially the Aspen and AP series, are popular in San Bernardino’s higher-end homes and carry specific requirements around spring-to-door matching and suggested professional installation to maintain the finish warranty on certain panel colors. That finish warranty is often excluded when installation is performed without a certified installer. The same logic applies to Amarr’s Classica collection with the woodgrain finishes, where a botched install can damage the panel edges and kill the finish warranty before the door has seen its first summer.
When a homeowner wants a Garage Door Installation in Grand Terrace, the brand question usually comes up in the first phone call, and it’s the right question to ask. The answer varies by your opening dimensions, your opener compatibility, and your home’s arch style, not by which brand the installer happens to stock.
See the difference
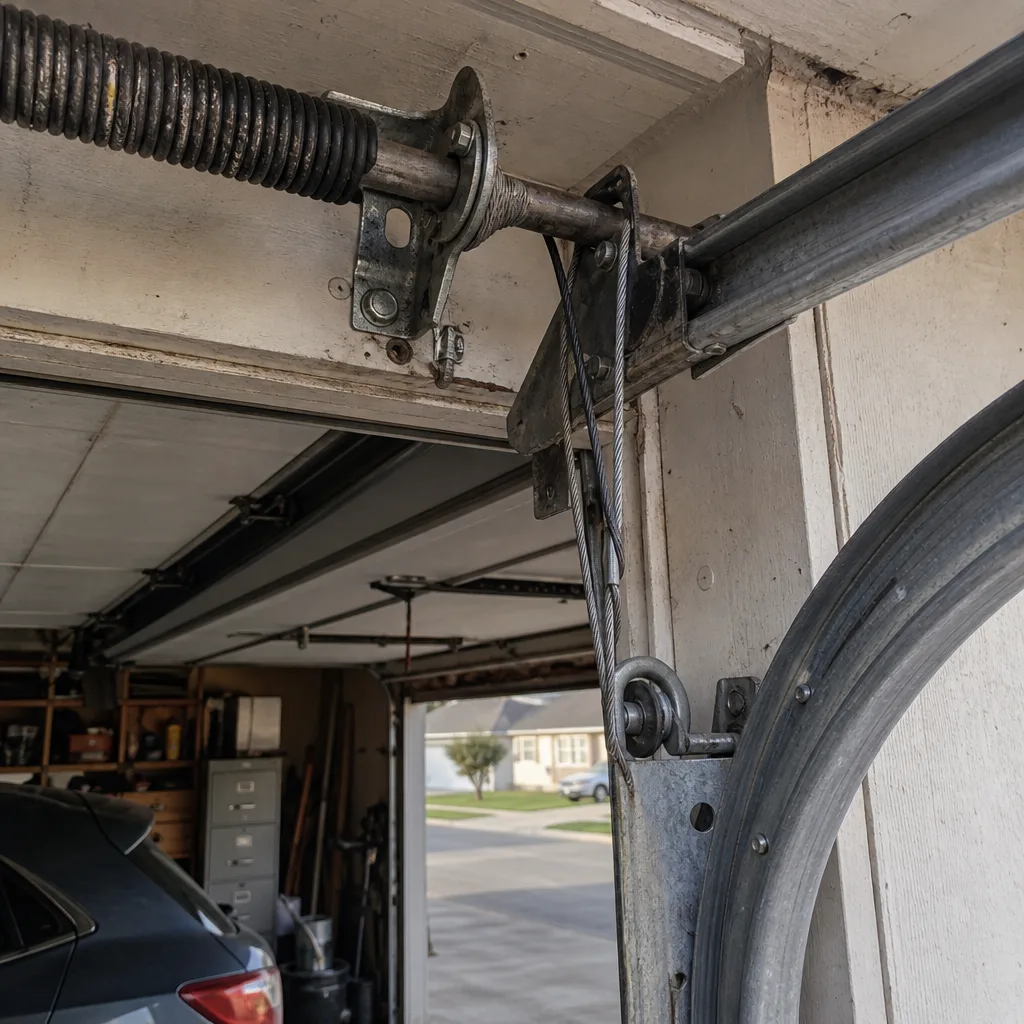 Before
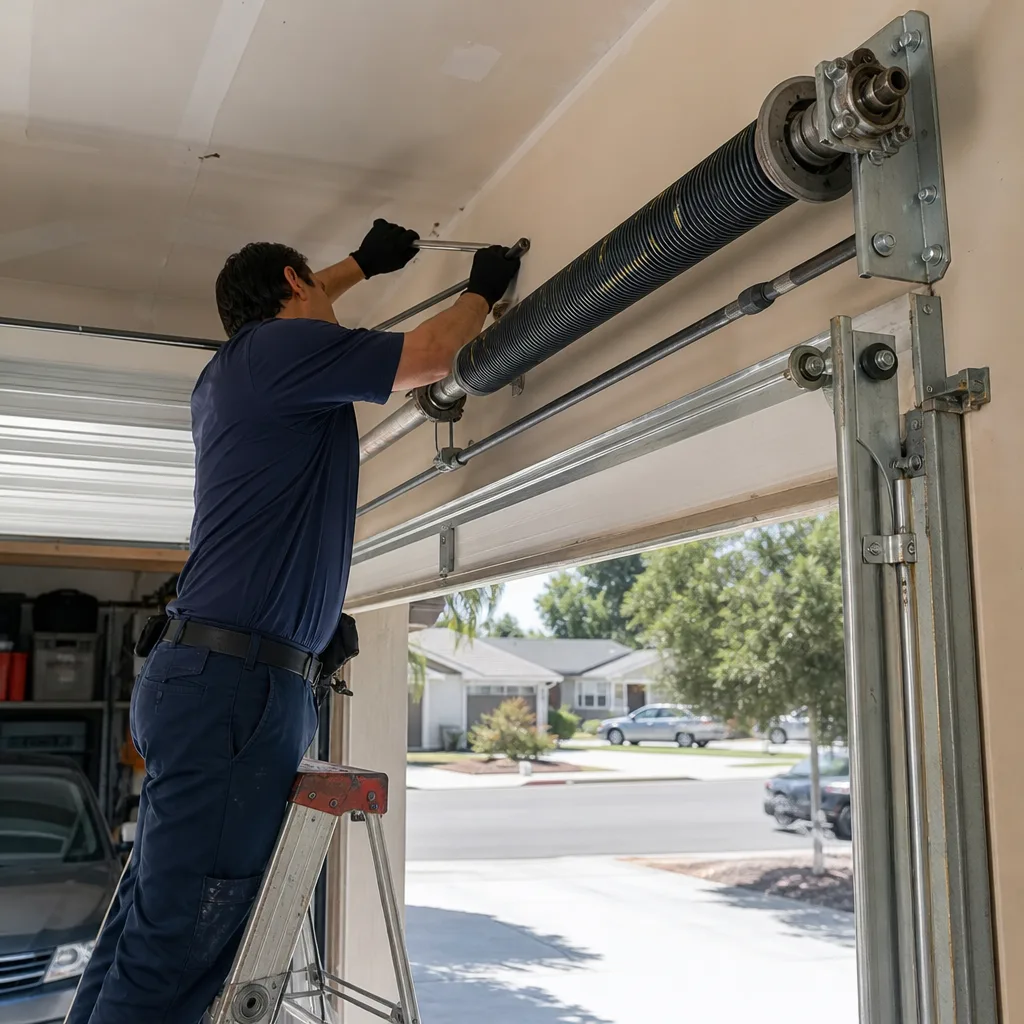 After
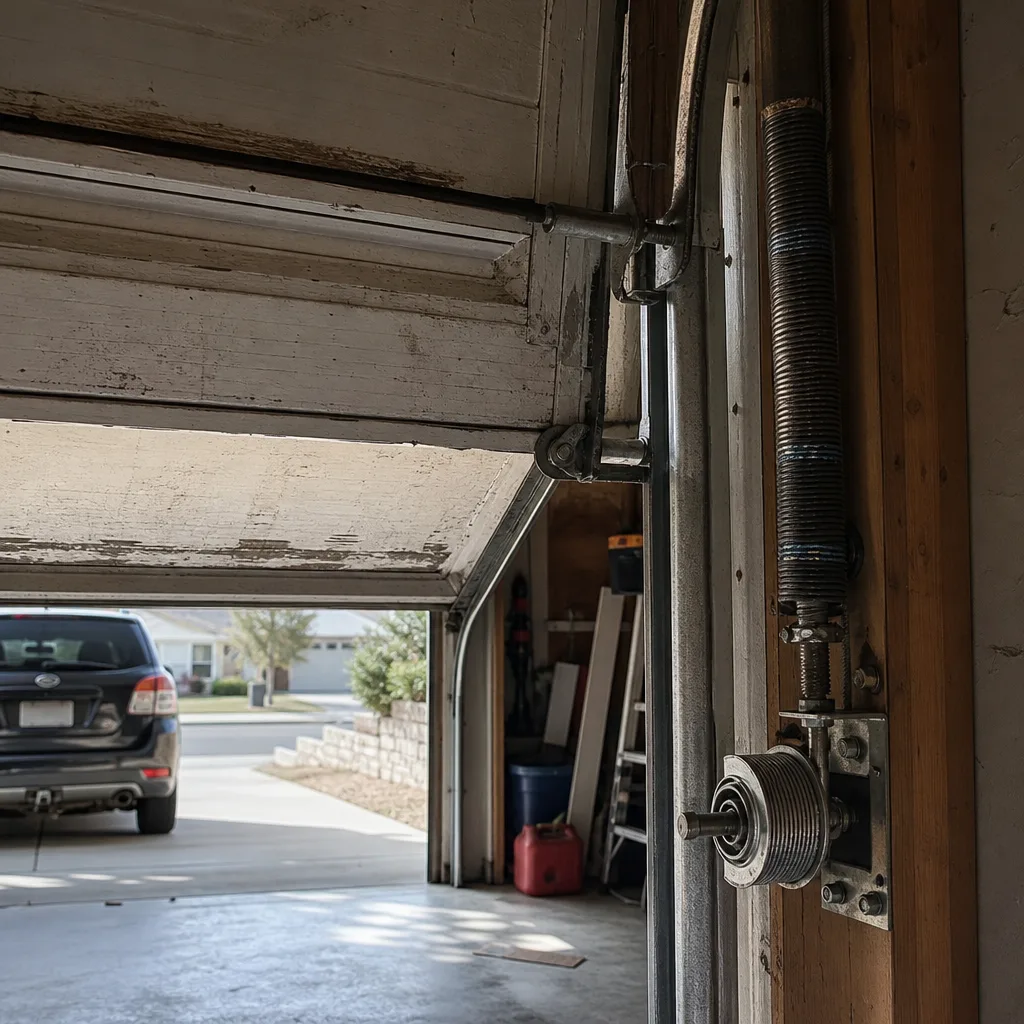 Before
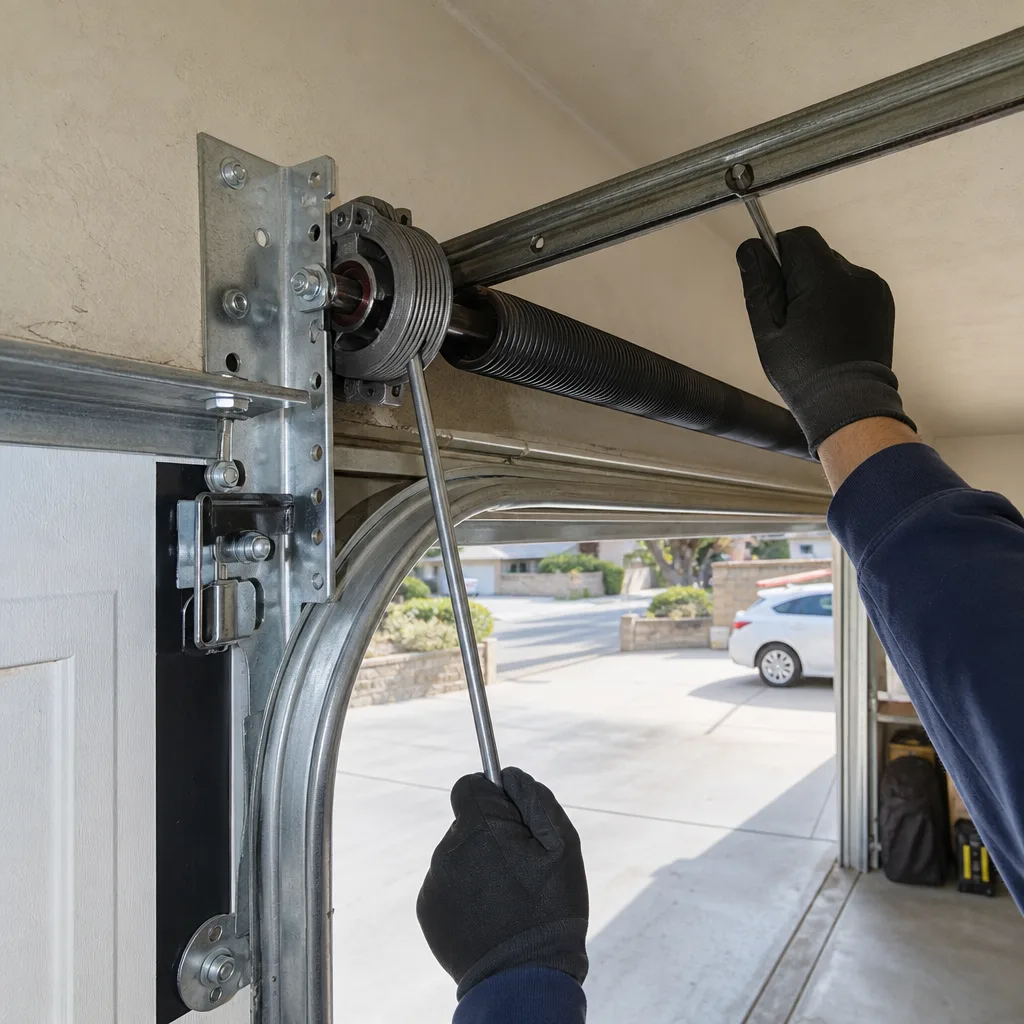 After
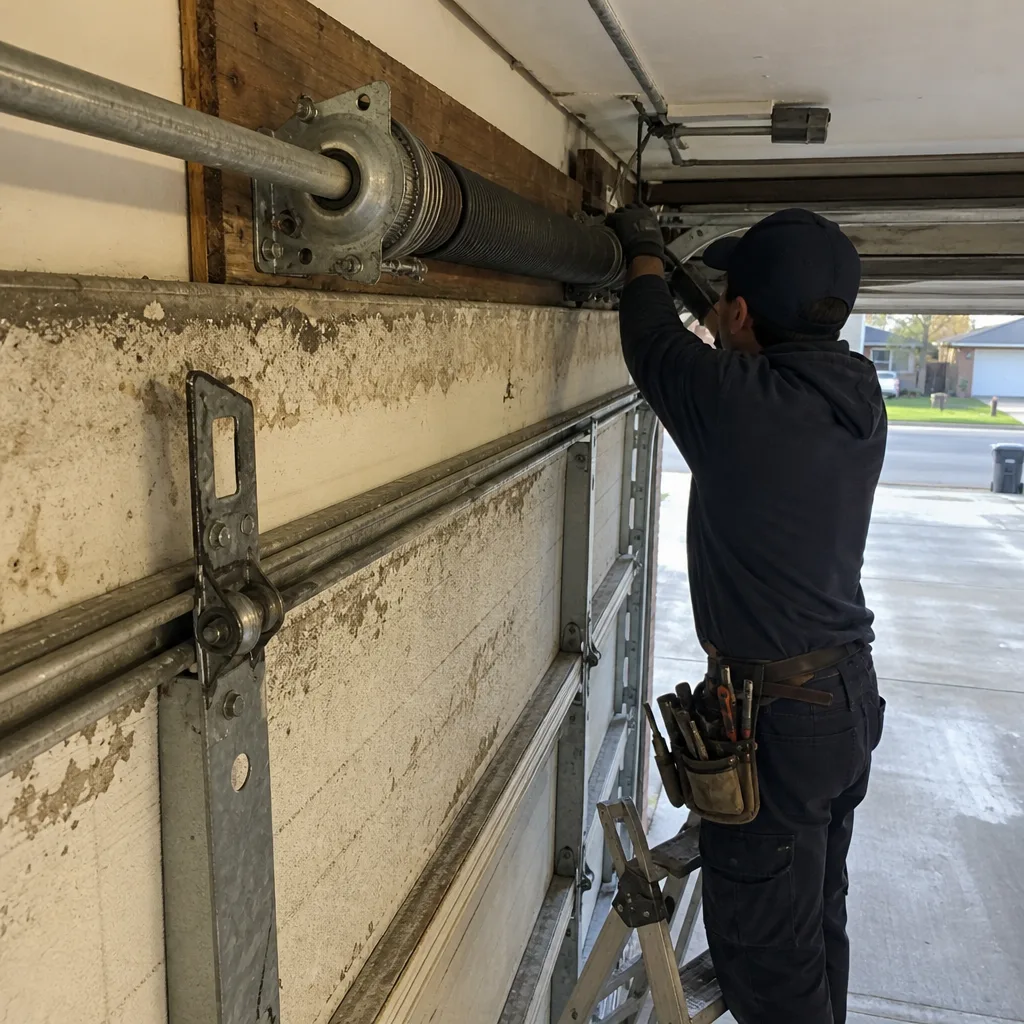 Before
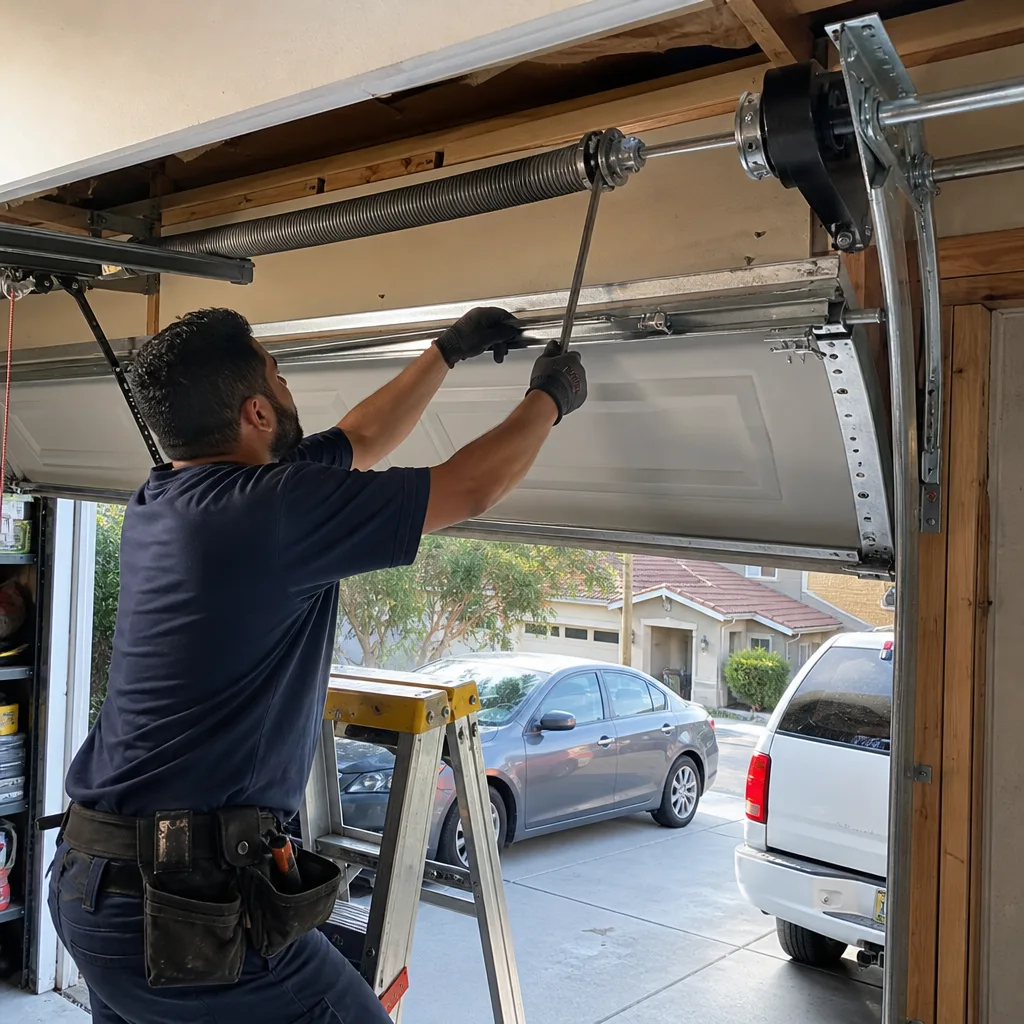 After
Key Takeaways
- DIY is genuinely fine for weatherstripping, sensor alignment, remote programming, and lubrication. These tasks are low-risk and well-documented.
- Anything involving torsion springs, lift cables, or track geometry should be professionally handled. The injury risk is real, not hypothetical, and the tools are specialized.
- The cost math favors DIY for sub-$50 parts and sub-30-minute tasks. It tilts hard toward professional when a failed attempt means a broken door, a voided warranty, or an urgent care visit.
- Warranty exclusions on major brands are triggered by unauthorized modification or repair, not just installation. Read the “Exclusions” section of your door and opener paperwork before assuming you’re covered.
- San Bernardino County permit considerations surface at resale, especially for fire-rated garage doors and hardwired openers. A professional install creates a paper trail; a cash DIY job does not.
- Opener platforms like myQ and Aladdin Connect have professional calibration steps that affect warranty activation and smart-home features.
Common Mistakes to Avoid
- Using the wrong lubricant. Spraying WD-40 on rollers, springs, and track bearings every few months because “it smells like it’s working.” It strips the grease and leaves the door louder within weeks. Use white lithium grease on metal-to-metal bearing points only.
- Winding a torsion spring with a screwdriver. A flathead screwdriver is not a winding bar. It’s a torque lever with no designed flex, and it will snap or slip under spring tension. We’ve seen the aftermath in garages across Highland and Rialto. Don’t do it.
- Replacing only one spring. When one torsion spring breaks, the other one is usually at the end of its rated cycle life too. Replacing only the broken spring means a second service call in months, not years, and a door whose balance is never quite right in between.
- Ignoring door balance. Disconnect the opener (pull the red release handle) and lift the door halfway by hand. If it stays, it’s balanced. If it drifts up or crashes down, the springs need attention. Most homeowners never do this test until after the opener burns out.
- Forcing a door that doesn’t want to close. When the door stops mid-travel or reverses without any visible obstacle, forcing it closed with the remote or by pulling the emergency release strains every component and often bends the track or the arm. The safety reverse is working. The problem is elsewhere.
- Skipping the obstruction test after opener work. After any opener install or adjustment, place a 2×4 flat under the door path and close the door. It must reverse within two seconds of contact. Not testing this is careless. Not testing it after aligning the sensors is worse, because you assume the eyes are doing the job the contact reverse is supposed to back up.
- Assuming all garage doors are the same. A single-car door, a double-car door, a wood door, and a steel door all require different spring rates, different cable lengths, and different drum configurations. Buying “a garage door spring” from a hardware store and expecting it to work is like buying “a tire” and expecting it to fit every car on your block.
When to Call a Professional
Call a professional when the diagnosis isn’t obvious, when the task involves springs or cables, when you can’t get your car out, when the door has come off its track, when an opener is dead but you don’t know if it’s the unit or the balance, or when a failed DIY attempt has already made the situation worse. Those last calls are common enough that “I watched a video and the door fell off the track” is practically a service category of its own. We work on the brand you already have, not a preferred substitute we bought in bulk, and the job is diagnosed before any price is quoted. Tradesman Garage Door Repair offers free estimates in San Bernardino. Call (855) 916-6950.
Frequently Asked Questions
Professional torsion spring replacement in San Bernardino typically runs $180 to $340 for a standard double-car door, including the spring, labor, and a door balance check. Single-car doors run slightly lower in the $150 to $250 range. The price is quoted and agreed before any work starts, so there are no surprises on the invoice. Call (855) 916-6950 for an exact quote, free of charge.
You can, and many homeowners do, but the critical step most DIY installers miss is verifying that the door is properly balanced before the opener is mounted. An opener on an unbalanced door will strain its gear train and fail early, and some LiftMaster and Chamberlain models require professional installation to activate the full warranty and myQ features. If you’re comfortable with the manual and the balance test, it’s feasible. If those terms feel unfamiliar, the professional route protects both your warranty and your opener’s lifespan.
It can. Most major door and opener brands, including Clopay, Amarr, LiftMaster, and Raynor, include warranty language that voids coverage where unauthorized repair or modification contributed to a failure. The key word is “contributed,” not “caused.” If a homeowner-replaced spring has incorrect tension and panels crack six months later, the panel warranty claim can be denied. Professional repairs create a documented service history that preserves the coverage you have.
For tasks like weatherstripping and sensor alignment, you save $50 to $150 per task, genuinely. For spring work and cable replacement, the “savings” math falls apart when you factor in specialized tools, the time cost, and the injury exposure. A botched spring job that leads to an emergency service call often costs more than the original professional quote would have, because the technician now has to undo the damage before doing the actual repair.
In most cases, replacing a garage door with the same dimensions and the same fire rating does not require a permit in San Bernardino County. The permit requirement typically triggers when the opening is modified, the framing changes, or the replacement door lacks the fire-resistance rating required for an attached garage. A licensed professional will know where the line is and can pull a permit if your specific job needs one.
For spring failures, cable issues, and doors that are stuck open or shut, same-day service is often available in San Bernardino and the surrounding areas. The best move is to call early in the day, describe the symptoms, and we’ll dispatch a technician who arrives with the parts common to your door type on the truck. Call (855) 916-6950 and we’ll give you a straight answer on timing.
The Bottom Line
The DIY-versus-professional question for garage doors isn’t about skill level or courage. It’s about correctly identifying which jobs sit on the safe side of the tension line and which ones put you, your family, and your property at risk while simultaneously voiding the warranties that protect your investment. Weatherstripping, sensors, programming, and lubrication are all legitimate DIY territory for a careful San Bernardino homeowner. Springs, cables, tracks, and opener calibration are not. And in a city where garage doors cycle constantly through hot summers and cool desert nights, the parts wear faster than you think. When the job crosses that line, call someone who treats garage doors as a trade, not a side hustle, or explore more guides & resources to stay informed. We repair the brand you already have, diagnose before we quote, and never charge a dime for an estimate. The garage door is the heaviest moving object in your home. Give it the respect it’s asking for.
Written by the team at Tradesman Garage Door Repair, serving San Bernardino since 2016.