
Last updated October 30, 2026
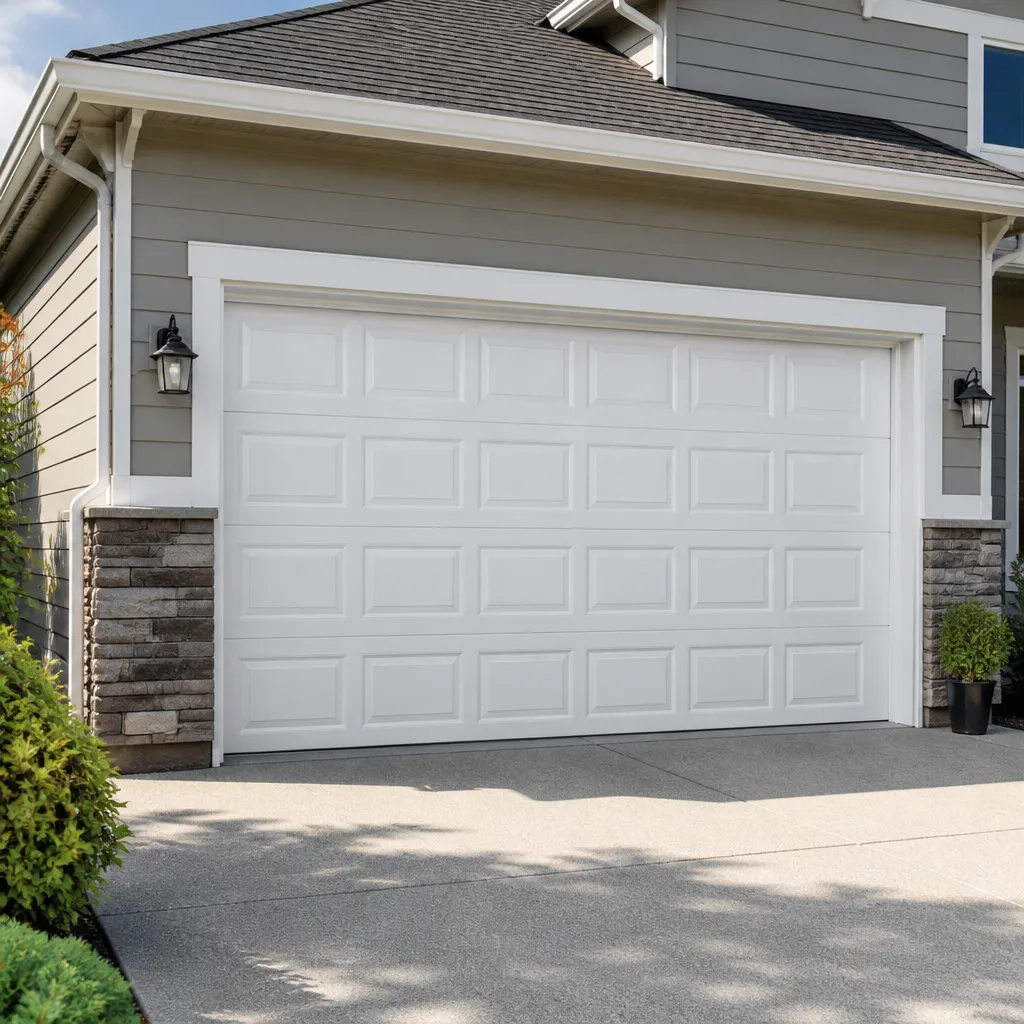 Raised-panel steel
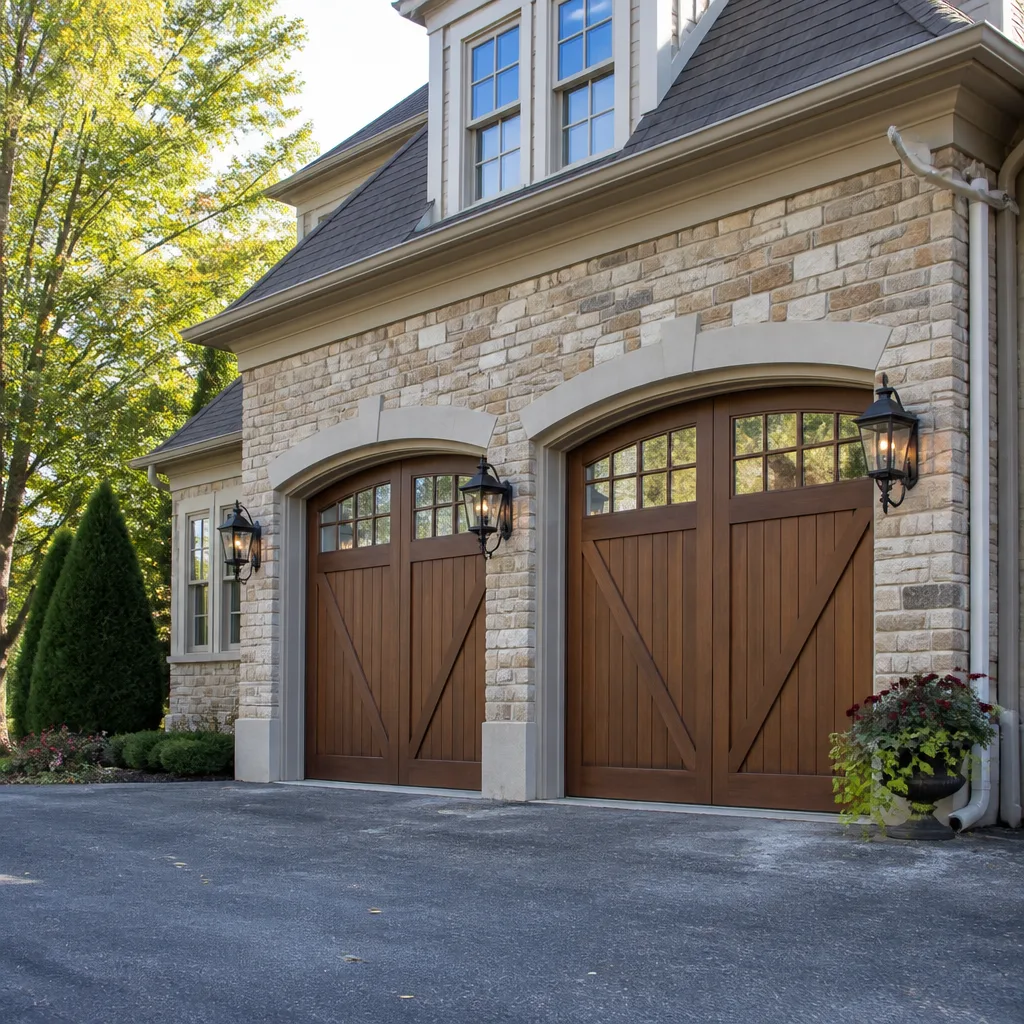 Carriage house
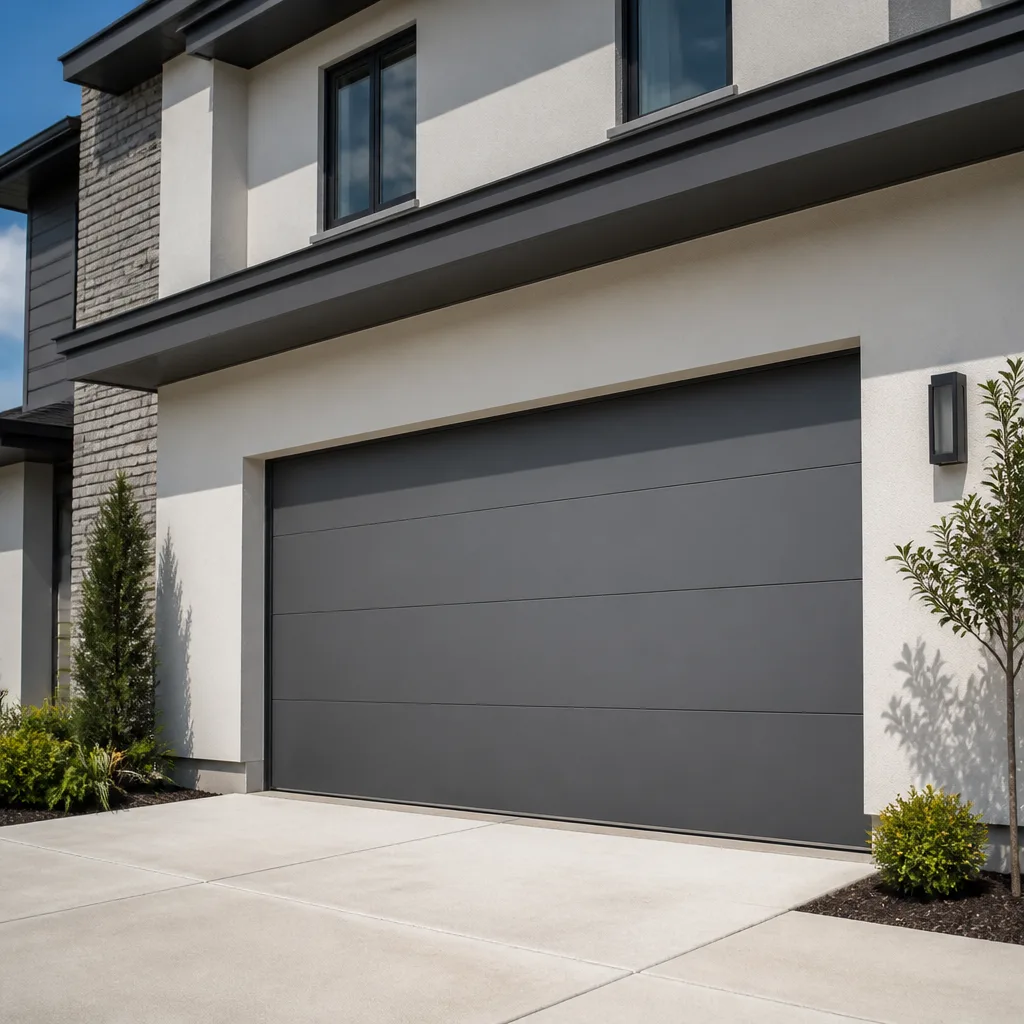 Modern flush
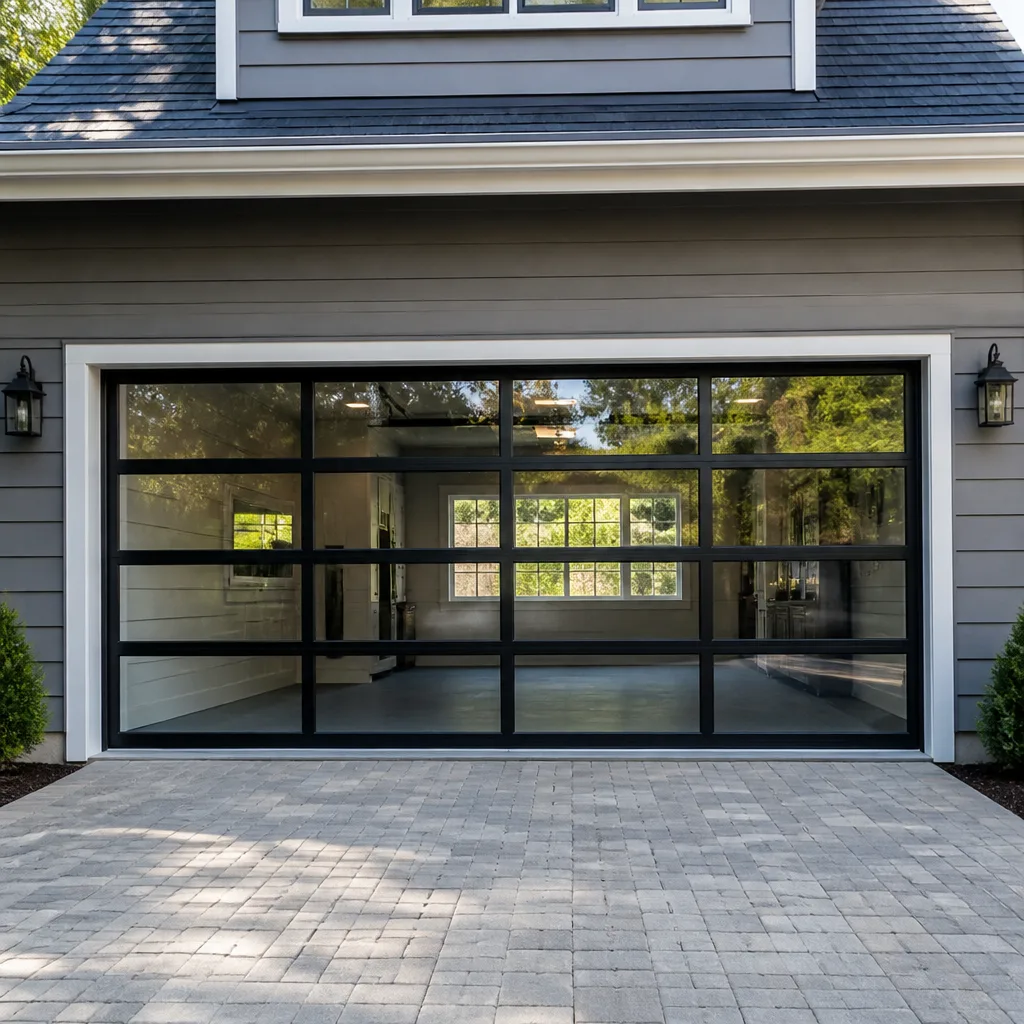 Full-view glass
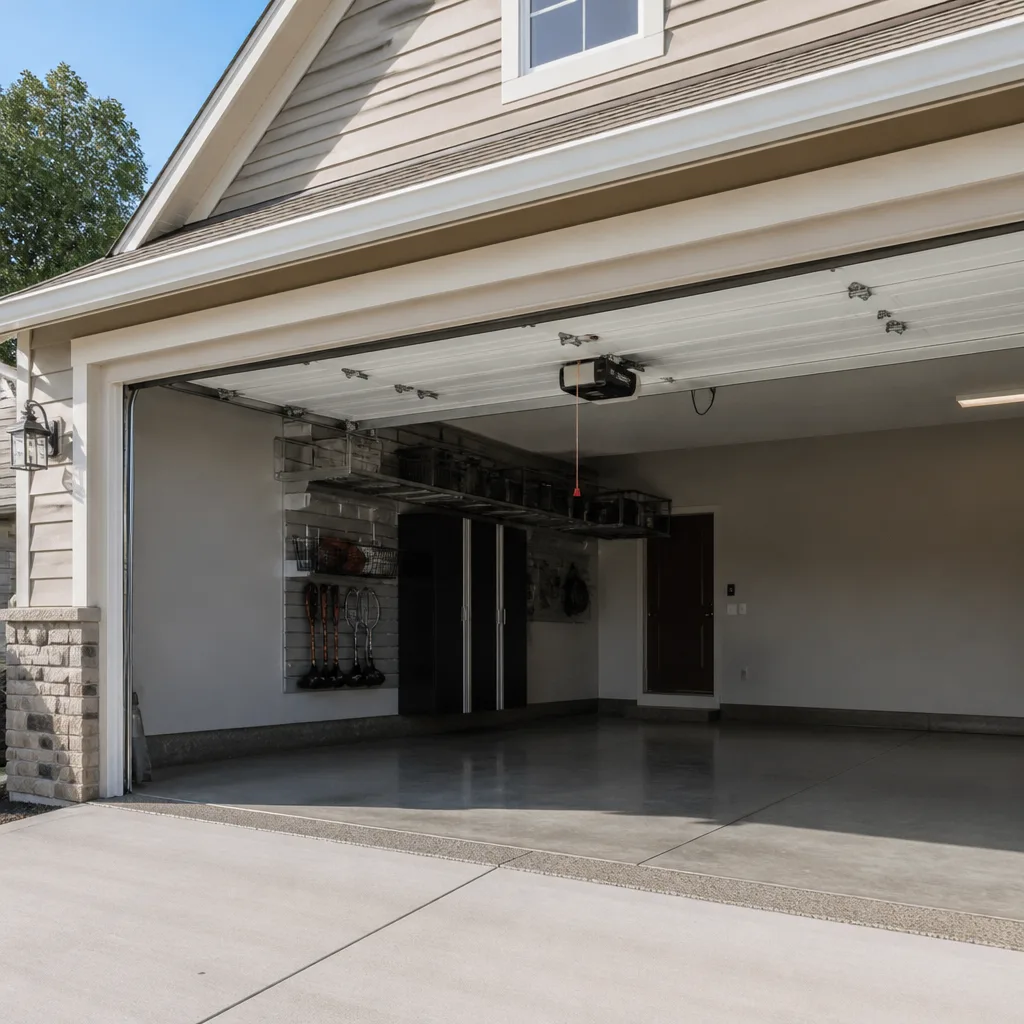 LiftMaster openers
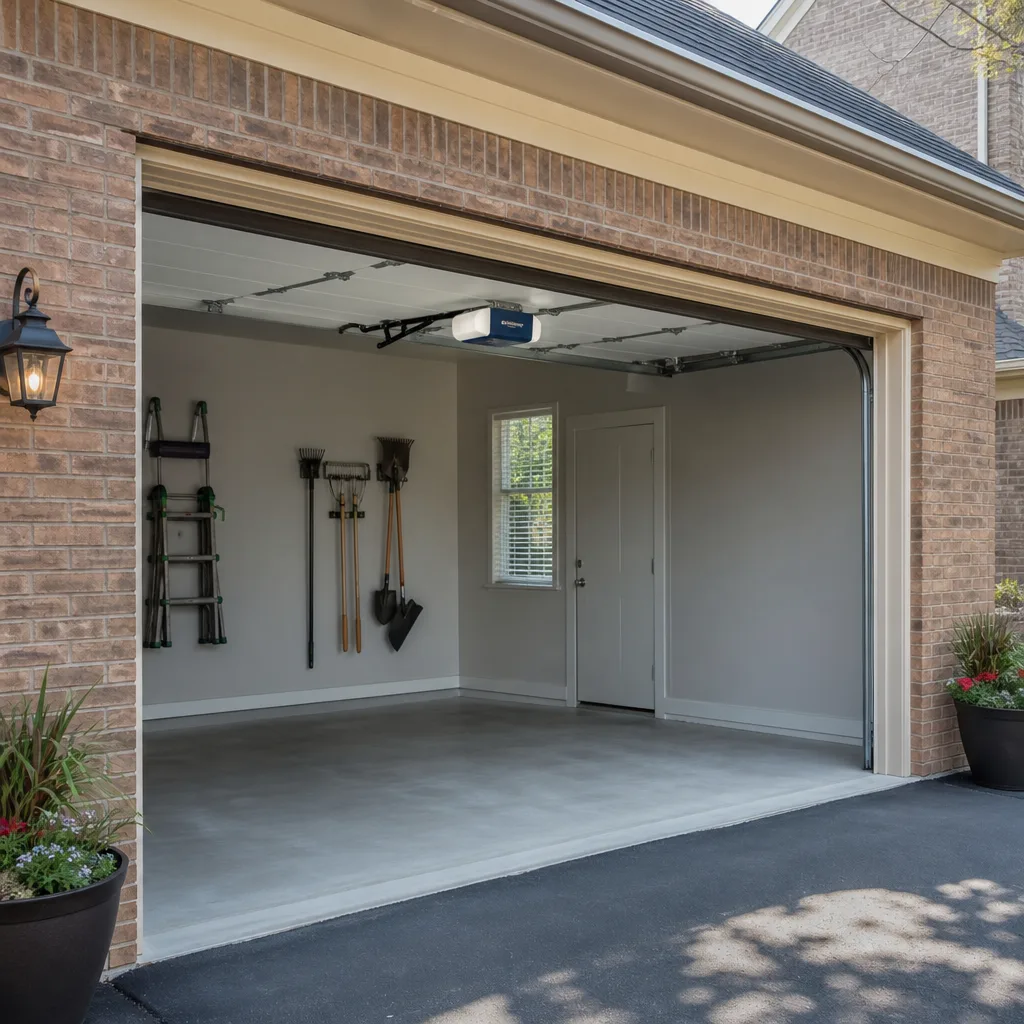 Chamberlain openers
Full 25-point door and opener safety check with every visit - springs, cables, rollers, tracks, and your LiftMaster or Chamberlain opener included
You get a price before we start. It does not change when the truck arrives.
Get your free estimateGarage Door Repair Troubleshooting: Common Problems and How to Fix Them
Most homeowners treat a misbehaving garage door like a single symptom with a single cause. That’s why so many troubleshooting guides fail. The reality, which we see every week on service calls across San Bernardino, is that your garage door is constantly communicating with you. The grind you hear at a specific point in the travel. The hesitation before the door reverses. The way it slams the last six inches instead of settling gently. Each of these is a distinct sentence in a language that narrows the problem before anyone touches a tool. This guide teaches you to read that language, so you can stop guessing and start fixing, or know precisely when to call our Garage Door Repair services team who already speaks it fluently.
Styles & brands we work with
Quick Answer
Garage door troubleshooting starts with identifying the specific behavior, not the generic symptom. A door that reverses before touching the floor points to sensor or force-setting issues, while one that reverses halfway down usually indicates a balance problem or track obstruction. Grinding during travel means worn rollers or a failing opener gear, while a door that moves unevenly signals a spring or cable problem. Most electrical and alignment issues cost between $85 and $180 to fix in San Bernardino, while mechanical failures like broken springs run $180 to $340.
Table of Contents
- Reading the Language: What Your Door Is Telling You
- The Symptom-to-Cause Matrix: Matching Behavior to Failure
- How to Safely Test Whether It’s Mechanical, Electrical, or Sensor-Related
- The Three Operator Error Patterns That Waste Service Call Money
- Noise as a Diagnostic Tool: What Each Sound Means
- Brand-Specific Quirks: LiftMaster, Chamberlain, Genie, and Craftsman
- When a ‘Fixed’ Door Is Masking a Developing Failure
- Common Mistakes to Avoid
- When to Call a Professional
- Frequently Asked Questions
- The Bottom Line
Reading the Language: What Your Door Is Telling You
Garage doors fail in patterns, not randomly. The order in which symptoms appear, the timing of the failure within the travel cycle, and the specific character of any noise are all diagnostic data points. A door that starts hesitating at the midpoint before eventually refusing to close altogether is telling a different story than one that works perfectly for two weeks and then refuses to respond. The first is mechanical wear. The second is electrical or sensor-related.
In San Bernardino, the climate adds another layer to this language. The dry summer heat accelerates the degradation of rubber seals and can cause the nylon in rollers to become brittle. The cold winter nights, particularly in neighborhoods up against the foothills, cause metal components to contract. When a San Bernardino homeowner tells us their door only acts up in the morning, we’re already thinking about thermal contraction affecting the track alignment or a marginally charged battery in the opener that struggles in low temperatures.
Here’s the key insight most guides miss: the specific point in the door’s travel where a problem occurs is more diagnostic than the problem itself. A door that binds at the same spot every cycle has a track issue. A door that binds at random points has a balance or roller issue. A door that struggles only at the bottom of its travel has a spring tension problem. The location of the symptom is the symptom.
The Symptom-to-Cause Matrix: Matching Behavior to Failure
We think through service calls as a behavior-to-cause matching exercise. Here’s the matrix we use, organized the way technicians actually diagnose, by what the door does, not what part is involved. This is the reference chart most online troubleshooting guides skip.
Reversal Behavior
| Specific Behavior | Likely Cause | What to Check First | Typical Fix Range |
|---|---|---|---|
| Reverses immediately after touching the floor | Close-force setting too low, or floor obstruction | Check for debris at floor level; check force adjustment dial | $50 – $120 for force adjustment; free if you clear an obstruction |
| Reverses 6 – 12 inches before the floor | Sensor misalignment or sensor wire damage | Check sensor eye alignment and LED status lights | $85 – $150 for sensor replacement |
| Reverses at the halfway point consistently | Track obstruction or balance problem | Inspect tracks for a bent section or loose bracket | $125 – $220 for track realignment |
| Reverses at random points on different cycles | Roller failure or worn torsion spring | Inspect roller condition; check spring integrity | $180 – $340 for spring replacement |
Stalling and Speed Changes
| Specific Behavior | Likely Cause | What to Check First | Typical Fix Range |
|---|---|---|---|
| Stalls at the same point every cycle | Bent track section or misaligned track at that point | Run door manually and feel for resistance at that point | $125 – $220 for track work |
| Moves slowly throughout the entire travel | Low opener force or failing capacitor | Check force settings; listen for motor strain | $85 – $180 for capacitor replacement |
| Accelerates on the way down, slams the last few inches | Broken or weak tension spring | Inspect springs; never attempt spring work yourself | $180 – $340 for spring replacement |
| Hesitates before starting, then moves normally | Opener gear wear or door balance issue | Watch for jerky initial movement | $150 – $250 for gear replacement |
This matrix reflects what we see in San Bernardino homes daily. The pricing ranges are local market rates, not national averages. Your specific quote will depend on your door’s brand, age, and the exact failure point.
How to Safely Test Whether It’s Mechanical, Electrical, or Sensor-Related
Before you touch anything, understand the test hierarchy. The goal is to isolate the system, not to fix it. The three systems are mechanical (springs, cables, rollers, tracks), electrical (opener motor, logic board, capacitor), and sensor-related (photo eyes, wall button, remotes). Here’s the step-by-step isolation process we use.
Step 1: Pull the Release Handle
Disconnect the opener using the red emergency release cord. This isolates the door from the opener. Now operate the door by hand.
- Door moves smoothly and stays in place when you let go: The mechanical system is fine. The problem is electrical or sensor-related in the opener.
- Door is heavy, drops when released, or binds at a specific point: You have a mechanical problem. Springs are the top suspect for a heavy door. Binding points to tracks or rollers.
- Door will not move at all by hand: Cable off drum, or a component is wedged. Do not force it. Call a professional.
Step 2: Reconnect and Test the Opener Without Load
With the door disconnected, press the wall button. The opener carriage should travel along the rail smoothly.
- Carriage moves but labors or grinds: Opener gear or sprocket failure. Common on LiftMaster and Chamberlain units over 10 years old.
- Carriage does not move, no sound: Check power, then check the logic board. A dead board often shows no LED at all.
- Carriage moves a few inches then stops: Travel module or RPM sensor issue inside the opener.
Step 3: Test the Sensors
With the door connected and the opener active, wave your hand through the photo eye beam while the door is closing. The door should reverse. If it does not, the sensors are not doing their job, or the force setting is overriding them.
Safety note before you start any testing: garage door springs, especially torsion springs mounted above the door, are under extreme tension. A torsion spring releasing while you are working near it can cause severe injury or death. Never attempt to adjust, replace, or even inspect springs closely. The testing described here involves the release handle and observing behavior from a safe distance, not touching the spring system itself. Garage Door Repair in Grand Terrace is a good reference for understanding what professional spring work involves, but the rule is simple: springs are off-limits for DIY.
The Three Operator Error Patterns That Waste Service Call Money
We’ve been called out to San Bernardino homes for problems that were not problems. Not frequently, but enough that we’ve identified three recurring patterns. Each one costs a homeowner a service call fee for something they could have caught in thirty seconds. Here they are.
Error Pattern 1: The Lockout Switch
The wall button on most openers, including LiftMaster and Craftsman models, has a “Lock” or “Vacation” mode button. When engaged, it disables the remote controls entirely. The door will work fine from the wall button but not from the remotes or keypad. A homeowner who only uses remotes thinks the opener has died. The fix is pressing and holding the lock button for three seconds. This single pattern accounts for a surprising number of “dead opener” calls in San Bernardino.
Error Pattern 2: The Obstructed Sensor with a Twist
The photo eyes at the bottom of the door track can be perfectly aligned and still misbehave. What we see often is a spider web or leaf across the lens, not in front of it. The sensor reads the web as an obstruction. Or a wire has been nicked by a lawn mower, causing intermittent shorts that mimic random failures. Check for debris on the lens surface, not just in the beam path. And check the wire run for damage.
Error Pattern 3: The Dead Battery in the Keypad Only
The wireless keypad mounted outside the garage has its own battery. It dies on its own schedule, independent of the remote controls. When the keypad stops working but the remotes work fine, the opener is not the problem. The keypad battery is. This is a $3 fix, but when a homeowner doesn’t isolate the keypad from the rest of the system, it gets reported as “the opener stopped responding to the keypad.”
Our approach is repair-first. If you can clear an obstruction or replace a battery yourself, we’d rather tell you that than charge you to do it. The matrix above exists so you can identify these patterns before picking up the phone. If you’re not sure after working through it, then call.
Noise as a Diagnostic Tool: What Each Sound Means
Noise is the most underused diagnostic signal in garage door repair. Every sound your door makes corresponds to a specific mechanical reality. Here’s a field guide to what we listen for when we take a noise complaint in San Bernardino.
The Grind
A grinding sound that occurs during the entire travel, not at a specific point, points to worn rollers. The bearings inside the rollers break down over time, and the roller starts sliding instead of rolling. On metal rollers, this creates a metal-on-metal screech. On nylon rollers, it creates a lower-frequency grind. The fix is roller replacement, typically $85 to $140 depending on whether you’re doing 10 rollers or 12, and whether they’re nylon or steel.
The Growl from the Opener
When the noise comes from the opener unit itself, not the door, and has a heavy, mechanical character, you’re likely hearing a failing main drive gear. This is the most common failure on chain-drive LiftMaster and Chamberlain openers, especially units with nylon gears. The gear wears down over 8 to 12 years of use and eventually strips. The noise is the motor spinning against a gear that’s no longer engaging. Replacement runs $150 to $250.
The Snap
A single, sharp snap followed by a non-functional door is a broken spring. Torsion springs break abruptly. It sounds like a gunshot in the garage. If you hear this and then the door will not open, or opens only a few inches before stopping, a spring has failed. This is not a DIY repair. Garage Door Repair in Grand Terrace and our San Bernardino team replace broken springs every week. The pricing is $180 to $340 for a standard two-spring replacement, with the springs themselves being the right ones for your door’s weight, not whatever is on the truck.
The Pop or Clunk
A rhythmic pop or clunk that occurs once per full door cycle usually indicates a roller catching on a track joint or a hinge that’s loose and binding. Isolate which side the noise comes from, then inspect that side’s track and hinges. The fix is usually a track bolt tightening or hinge replacement, $95 to $160.
In San Bernardino, we hear more roller-related noise complaints in the summer, when the heat expands the metal tracks and makes small misalignments more pronounced. The noise is still there in winter, but it’s quieter. That’s why we ask homeowners whether the noise changes with the weather. It narrows the diagnosis.
Brand-Specific Quirks: LiftMaster, Chamberlain, Genie, and Craftsman
Different openers fail in different ways. Knowing your opener’s brand-specific behavior can save you a service call or, just as important, tell you which problem is not worth fixing. Here’s what we know from working on these systems in San Bernardino specifically.
LiftMaster Error Codes
LiftMaster units with an LCD display or diagnostic LED communicate via arrow codes and numbers. A common one we see is the “up arrow flash, down arrow flash” sequence, which indicates a sensor issue, usually misalignment or a shorted wire. Another is code 4-1, which means the RPM sensor is not detecting the motor speed correctly. The board reads this as a potential entrapment situation and refuses to operate. In most cases, the RPM sensor wheel has come loose from the motor shaft. The fix is reseating it, a $90 to $140 repair. The important thing with LiftMaster is that the error code you see on the display is the starting point, not the final answer. The sensors and wiring need to be ruled out before assuming the board is bad.
Chamberlain Logic Board Behavior
Chamberlain and LiftMaster share a parent company and many components, but Chamberlain’s consumer-line logic boards show a different failure pattern. We often see a Chamberlain opener that works intermittently: fine one day, dead the next, fine again after unplugging. This is usually a capacitor or solder joint issue on the logic board, not a complete board failure. The board will eventually fail entirely, but it can take months of intermittent behavior first. A Chamberlain that’s been acting randomly for weeks is a board that’s going. Replacement boards run $120 to $200. If you have a Chamberlain that’s over 12 years old and showing these signs, see our How to Hire a Garage Door Contractor in San Bernardino: A Step-by-Step Guide or call us and we’ll tell you if a replacement opener is the better financial call.
Genie and Craftsman Differences
Genie openers use a different force-sensing system than LiftMaster/Chamberlain units. Genie’s system measures motor current draw to detect an obstruction, while LiftMaster uses the RPM sensor plus the photo eyes. This matters because a Genie door that reverses for no apparent reason is often responding to a genuine increase in motor load, meaning a mechanical problem with the door itself, not a sensor fault. The door, not the opener, is failing.
Craftsman openers are, for most models from the last 15 years, rebadged Chamberlain units. The internal components are interchangeable. What we see with Craftsman is more case material degradation in San Bernardino heat: the plastic housing and internal brackets get brittle, and the opener’s mounting points begin to flex. A Craftsman opener that makes more noise than it used to but still works is often a unit whose brackets are deteriorating. It’s a repair-or-replace decision, not a simple fix.
We work on all of these brands because that’s what a tradesman does: you diagnose the system the customer has, not the one you’d rather sell them. If you have a Raynor or Wayne Dalton door with a LiftMaster opener, we are equally at home. The opener and the door are separate systems, and each has its own failure modes.
When a ‘Fixed’ Door Is Masking a Developing Failure
Here’s the uncomfortable truth about garage door repair: a lot of work that happens on doors in San Bernardino and everywhere else is a temporary workaround, not a fix. The door works again, and everyone moves on. But the underlying condition that caused the first failure is still there. This section is about recognizing the difference.
Sign 1: The Adjustment That Keeps Being Needed
If you or a previous technician have adjusted the force settings on your opener more than once in a year, the opener is not the problem. The door is. Force settings are compensating for a door that’s becoming harder to move, and that means balance is shifting, usually because of a weakening spring. The spring will fail eventually. Multiple force adjustments are the early warning.
Sign 2: The “Fixed” Sensor That Drifts
Photo eye sensors that have been realigned once and then drift out of alignment again within months are mounted to a track that’s moving. The bracket or the track itself is loose. Realigning the sensor without tightening the track is a temporary fix. The same applies to sensors that work after being cleaned but fail again quickly: the environment is dirty, and that means seal or track issues, not sensor issues.
Sign 3: The New Roller on a Worn Track
Replacing rollers without checking the tracks is a common partial fix. A new roller on a track that’s worn or slightly bent will work, for a while. But the track’s condition will destroy the new roller faster than it should. When a roller fails again within 2 to 3 years, that’s the track’s fault, not the roller’s. A real repair addresses both.
We see this pattern most in San Bernardino neighborhoods with older housing stock, where doors may be 20 to 30 years old and have had multiple partial repairs over the years. The door works, so no one questions the fix. But the accumulated stress is building toward a bigger failure. A repair-first approach means we look for the developing failure, not just the immediate symptom. When we quote a repair on Garage Door Opener Repair in Grand Terrace or San Bernardino, we include what we found while we were in there, not just what you called about.
Common Mistakes to Avoid
- Adjusting the opener force to “fix” a binding door. If the door is hard to move, the force setting is not the problem. You’re telling the opener to push harder against a mechanical fault. The spring, track, or roller issue is still there, and now the opener is working harder to accommodate it.
- Lubricating everything that moves. Over-lubrication attracts San Bernardino dust and creates a paste that accelerates wear. The only components that need lubrication are rollers, hinges, and the spring. The track should be clean and dry.
- Ignoring intermittent behavior. A door that occasionally reverses or hesitates is providing diagnostic data each time it misbehaves. Waiting until it fails completely means the repair is now urgent, which is never the cheapest way to get it done.
- Replacing the opener when the door is the problem. A new opener will not fix an unbalanced door. It will struggle against the same mechanical resistance the old one did. The new opener will fail early, and you’ll be back to square one with less money.
- Treating all reversal behavior as a sensor problem. The matrix above exists because reversal at the floor, reversal at the midpoint, and reversal at random points have different causes. Sensor alignment is only one branch of the diagnostic tree.
- Assuming brand interchangeability. LiftMaster parts don’t always fit Chamberlain units of a different generation, and Genie sensors are not compatible with Craftsman openers. Using the wrong part creates new problems. This is one reason we carry specific parts for the brands we service rather than generic substitutes.
- Calling us before checking the lock switch. We’re happy to help, but we’d rather save you the trip charge. Thirty seconds of checking the lock mode, the keypad battery, and the sensor lenses resolves a surprising number of “opener is dead” calls.
When to Call a Professional
Call a professional when the door is heavy when operated by hand, when you hear a snap followed by failure, when cables are loose or off the drum, or when the door comes off its track. These are not DIY repairs. The spring system and cables hold enough tension to cause serious injury, and a door off its track is unpredictable. If you’ve worked through the testing steps in this guide and the problem is not an operator error pattern, not a sensor issue, and not a battery, then the remaining causes are mechanical or board-level and require a technician. Tradesman Garage Door Repair offers free estimates in San Bernardino. Call (855) 916-6950 and we’ll give you a diagnosis and a price before any work starts.
Frequently Asked Questions
Garage door repair in San Bernardino typically costs between $85 and $340 depending on the repair. Minor electrical and sensor work runs $85 to $180. Roller replacement runs $85 to $140. Spring replacement is the biggest common repair at $180 to $340 for a two-spring system. The price is always quoted and agreed before any work starts, so there are no surprise invoices. Call (855) 916-6950 for a free estimate specific to your door.
A garage door that reverses before hitting the floor is usually responding to a photo eye sensor issue, an obstruction in the beam path, or a close-force setting that’s too low. Check the sensor LEDs first: both should be solid, not blinking. Then clear any debris from the beam path. If the problem persists, a sensor may need realignment or replacement, which typically costs $85 to $150 in San Bernardino.
Yes, we offer same-day service for most repairs in San Bernardino and the surrounding area. Spring replacements, sensor repairs, and roller replacements are the most common same-day jobs because we carry the parts on the truck. Call (855) 916-6950 in the morning and we can usually have your door working by the afternoon.
A broken torsion spring typically makes a loud snap, and the door will not open or opens only a few inches before stopping. If you operate the door manually with the release handle and it feels very heavy, the spring has failed. Spring replacement is not a DIY job. The springs are under extreme tension, and the work requires specific tools and training. In San Bernardino, a two-spring replacement runs $180 to $340.
Intermittent opener behavior usually points to a failing capacitor or degraded solder joint on the logic board, especially on Chamberlain and Craftsman units. It can also be a wire that’s nicked and shorting randomly, often from lawn equipment or pest damage. The fix is board or component replacement, typically $120 to $200, or a wiring repair at $85 to $150. We’ll diagnose it before quoting so you know which it is.
We work on all major brands, including LiftMaster, Chamberlain, Genie, Clopay, Amarr, Wayne Dalton, Craftsman, and Raynor. That’s eight of the most common residential systems. We repair the brand you already have rather than steering you toward a preferred substitute. The opener and the door are diagnosed as separate systems, each with its own failure modes.
The Bottom Line
Your garage door is a diagnostic instrument. The point in its travel where it binds, the specific character of the noise it makes, and the timing of its failures are all language. Learn to read it and you’ll catch developing failures before they become urgent ones. You’ll also avoid paying a service call for a lock switch that was on. The operator error patterns are real; the masking failures are common; and the brand-specific quirks mean two identical symptoms can have different causes depending on what’s bolted to your ceiling. When you’ve worked through the matrix and the problem is mechanical, Tradesman Garage Door Repair home covers repair, opener repair, and Garage Door Installation in Grand Terrace and San Bernardino with the same standard: diagnose first, fix what’s actually wrong, and give you the price before we start. Call (855) 916-6950 for a free estimate.
Written by the team at Tradesman Garage Door Repair, serving San Bernardino since 2016. Explore more guides & resources on our blog.
See the difference
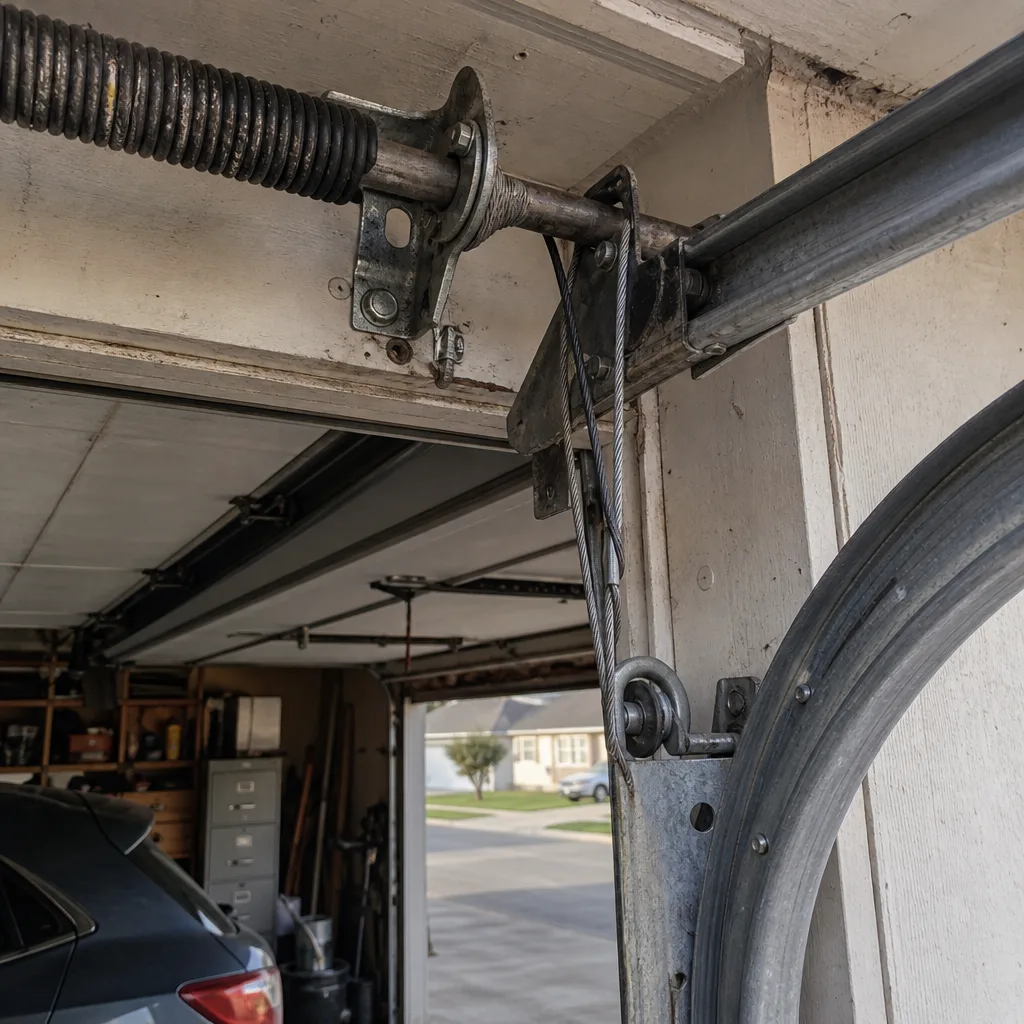 Before
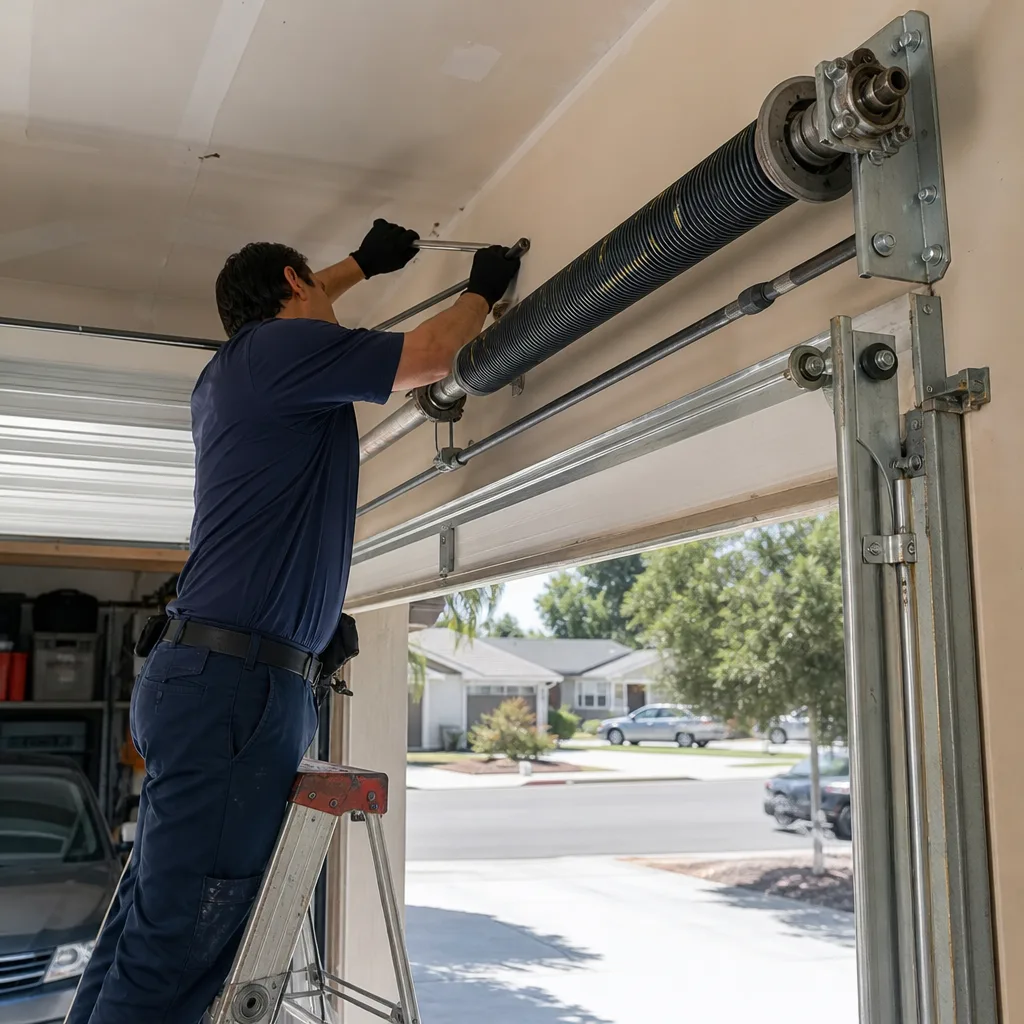 After
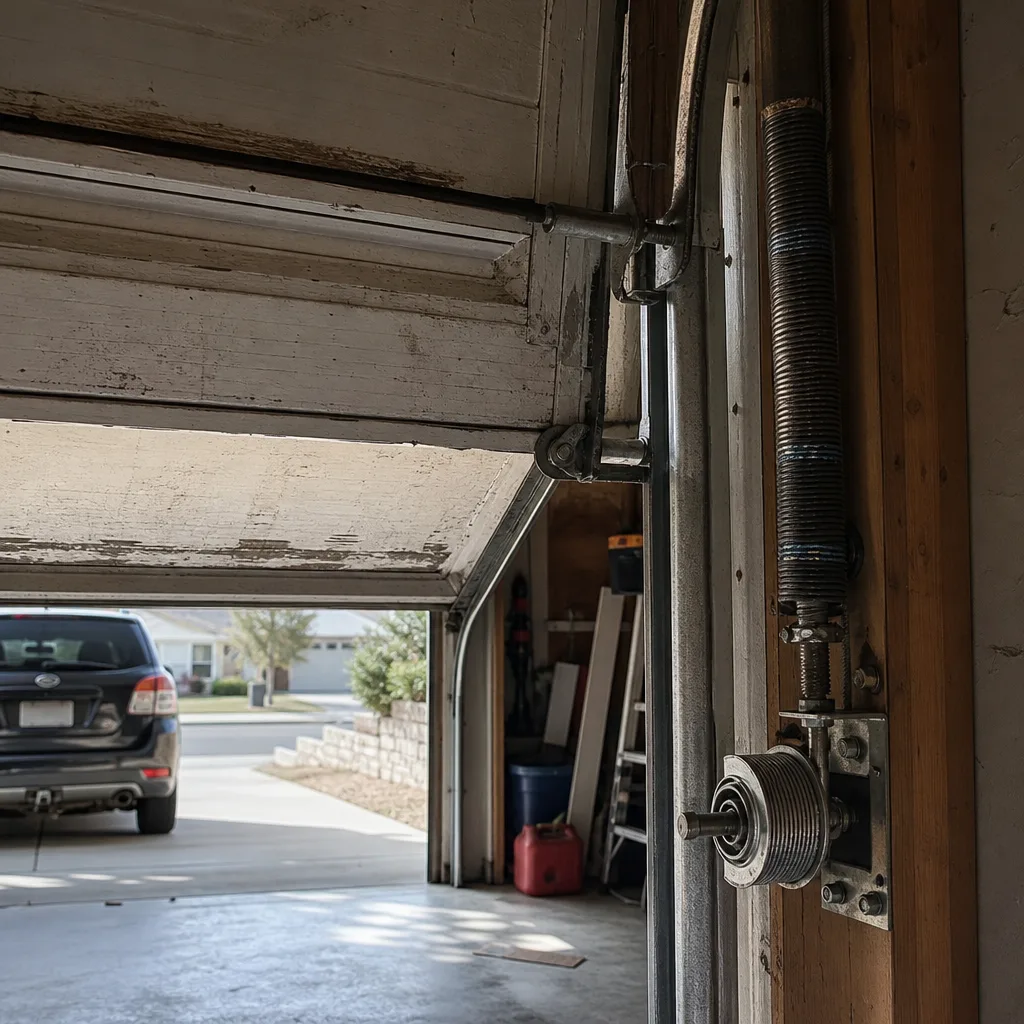 Before
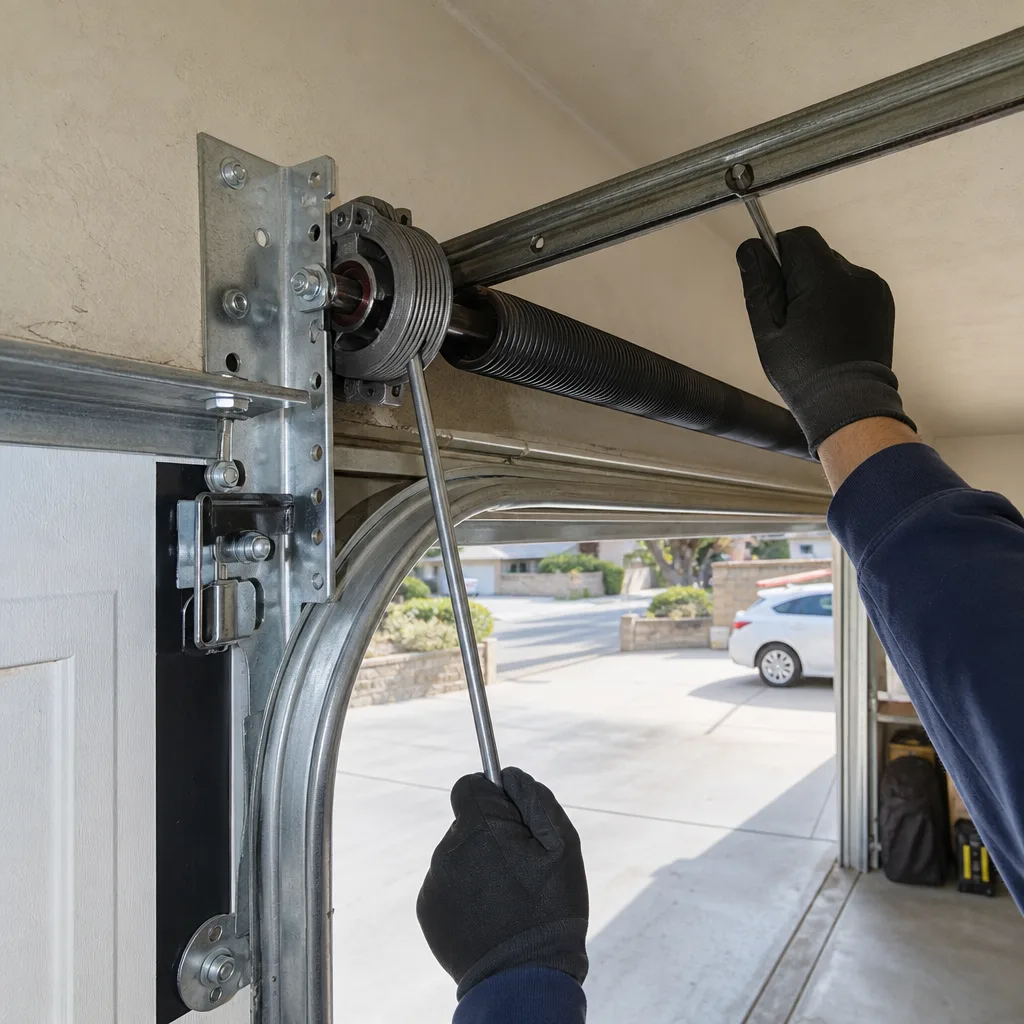 After
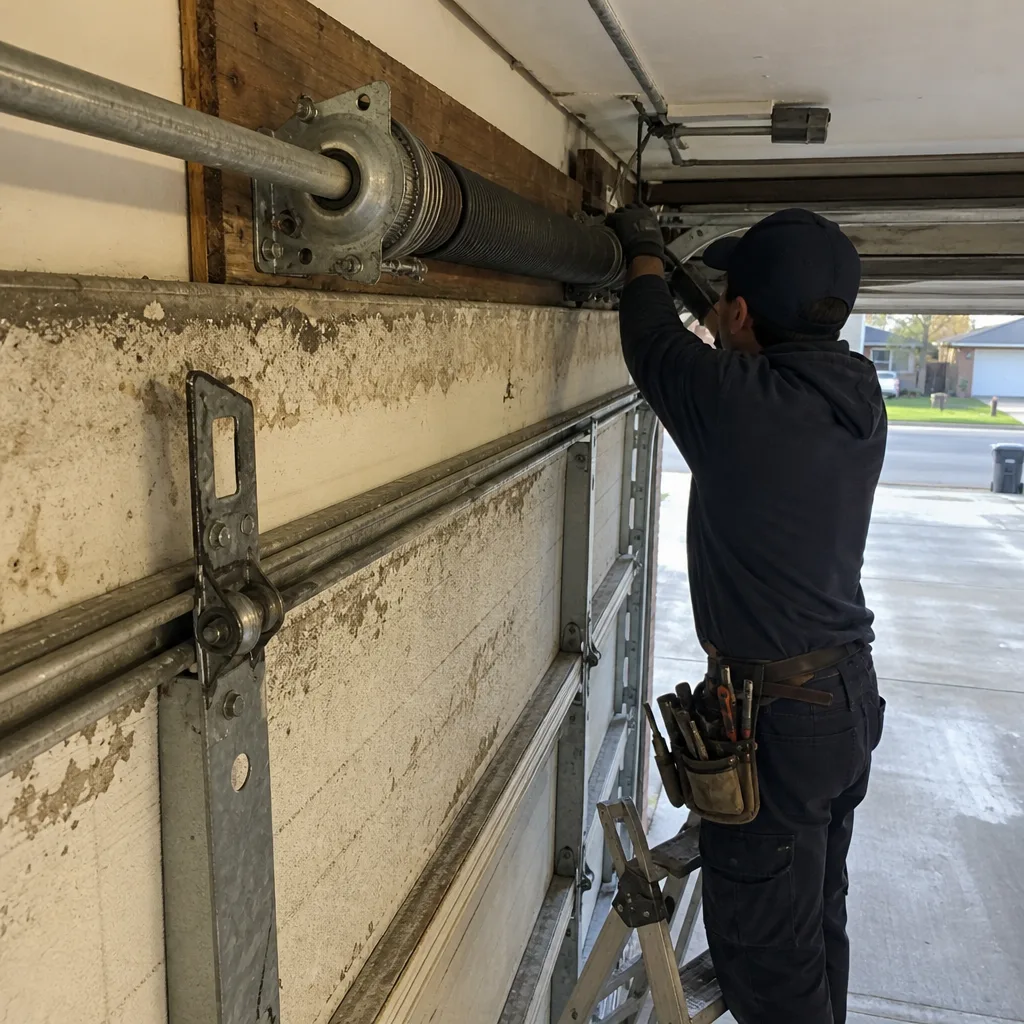 Before
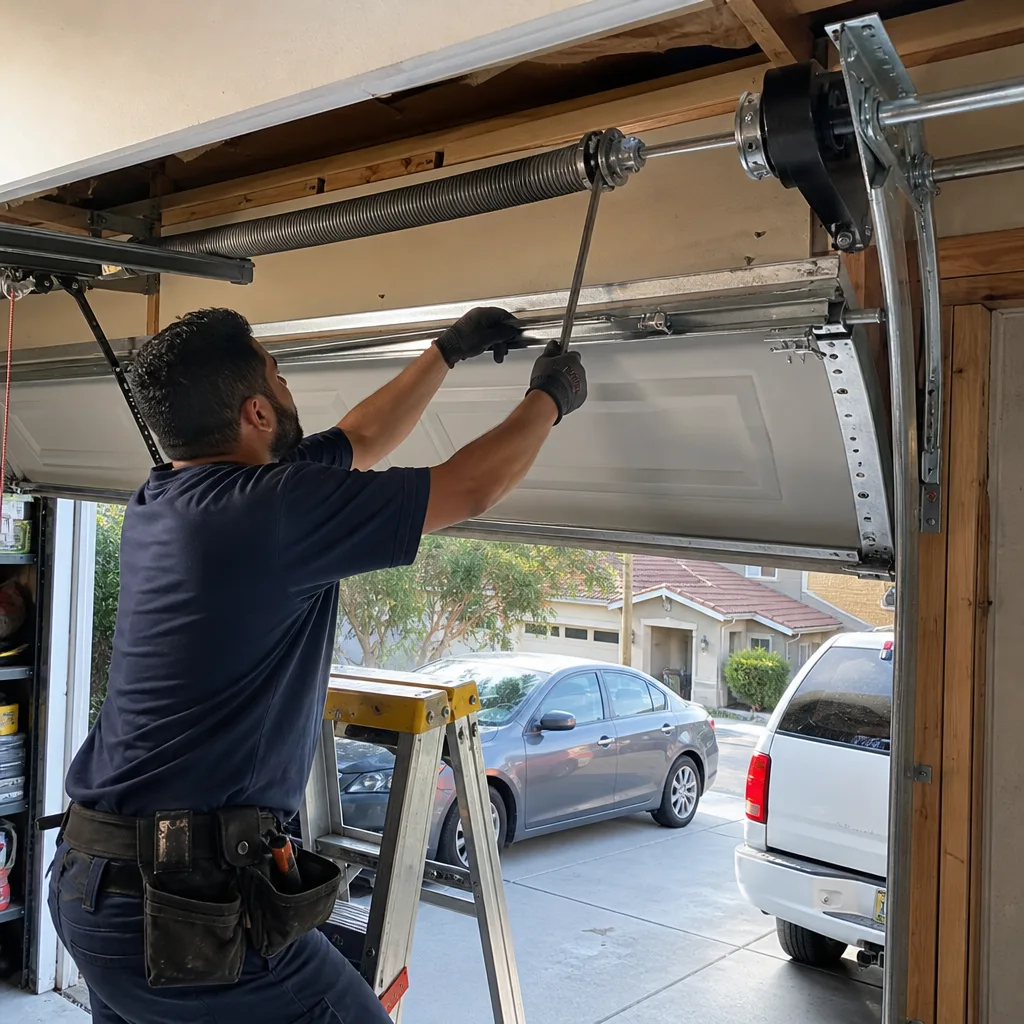 After